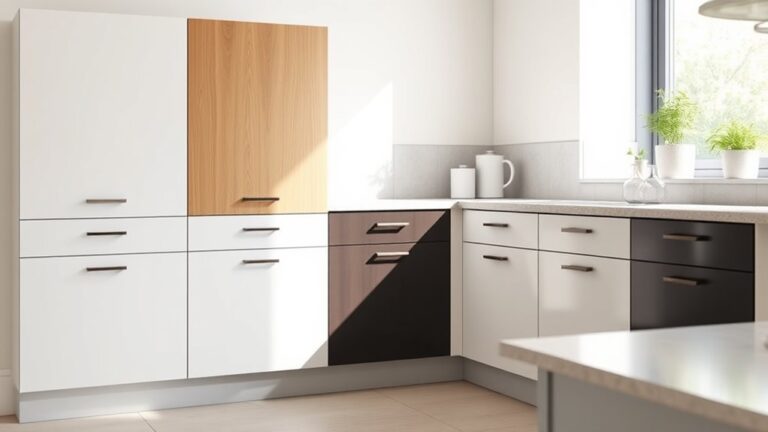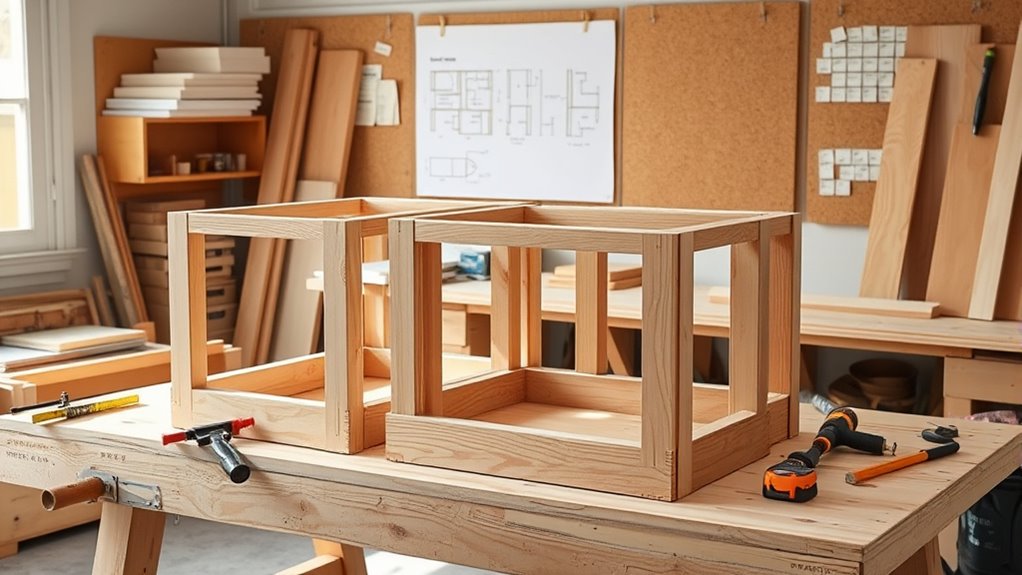
How to Build Kitchen Cabinets in 10 Easy Steps
Struggling to find the perfect kitchen cabinets that match your style and budget? You’re not alone. Many people feel overwhelmed by the choices and the thought of installing cabinets themselves. If you’ve ever wished for custom cabinets that fit your space perfectly, building them might be the solution you’ve been searching for.
You’ll start by measuring your space and planning your layout carefully. Then you’ll select quality wood and essential tools like a table saw and drill.
Next, you’ll cut all pieces to size, assemble frames with strong joints, and add internal supports.
After building and hanging doors, you’ll install drawer slides and apply your chosen finish.
Finally, you’ll secure everything to wall studs with proper hardware. These fundamental steps form the foundation for creating custom cabinets.
Keep going to uncover the detailed techniques that’ll transform your kitchen. How to Build Kitchen Cabinets
Key Takeaways
- Measure walls accurately, plan cabinet layout on graph paper, and select materials before starting construction.
- Cut all cabinet pieces using a table saw, double-checking measurements and organizing pieces by section.
- Assemble frames using wood glue, dowels, and hardware. Verify squareness by comparing diagonal measurements.
- Install shelves with level-mounted brackets. Then build and finish doors with stain or paint.
- Hang doors with hinges, install drawer slides, secure cabinetry to wall studs, and add hardware.
Measure and Plan Your Cabinet Layout
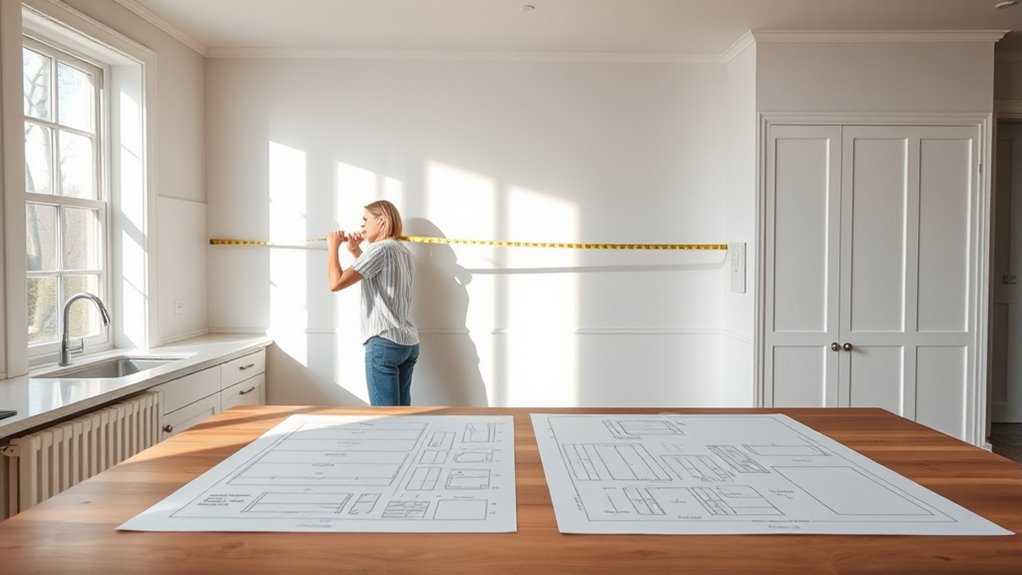
Before you cut a single board, you’ll need to measure your kitchen space and sketch out your cabinet layout. Start by taking precise measurements of your walls, noting any windows, doors, or electrical outlets that’ll impact placement. Use a level to check for irregularities since most kitchens aren’t perfectly square.
Measure your kitchen precisely, noting windows and outlets, then use a level to check for irregularities before sketching your cabinet layout.
Next, create a detailed floor plan on graph paper, marking cabinet dimensions, appliance locations, and traffic flow patterns. This visual guide prevents costly mistakes during assembly.
Consider your material selection early, as different woods and finishes affect both durability and aesthetics. Oak, maple, and plywood each have distinct characteristics that’ll influence your cabinet’s longevity and appearance.
Don’t overlook color coordination with your existing kitchen elements. Your cabinet finish should complement your countertops, flooring, and backsplash. Plan hardware placement and door swing directions to maximize accessibility and functionality throughout your space.
Choose the Right Wood and Gather Your Tools
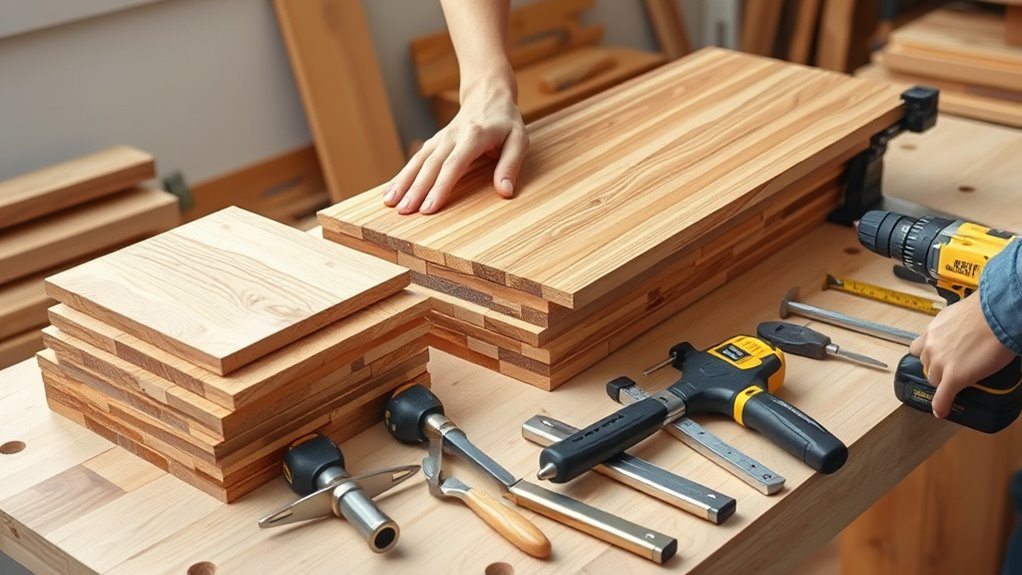
With your layout finalized, you’re ready to select materials and assemble your toolkit.
Wood selection is crucial for cabinet durability and aesthetics. You’ll want to choose between solid wood like oak or maple for quality finishes, or plywood for budget-friendly options. Consider your cabinet’s purpose and desired appearance when deciding.
Your tool collection should include essential items for this project:
| Tool | Purpose | Priority |
|---|---|---|
| Circular Saw | Cutting wood pieces | Essential |
| Drill/Driver | Assembling components | Essential |
| Table Saw | Precise straight cuts | High |
| Miter Saw | Angled cuts | High |
| Clamps | Holding pieces together | Essential |
| Measuring Tape | Accuracy verification | Essential |
| Orbital Sander | Smoothing surfaces | Medium |
| Pocket Hole Jig | Strong joinery | Medium |
Invest in quality tools that’ll serve you beyond this project. Also, make sure you’ve got safety gear including glasses and gloves. With proper wood selection and a complete tool collection, you’re prepared to move forward confidently.
Cut All Cabinet Pieces to Size
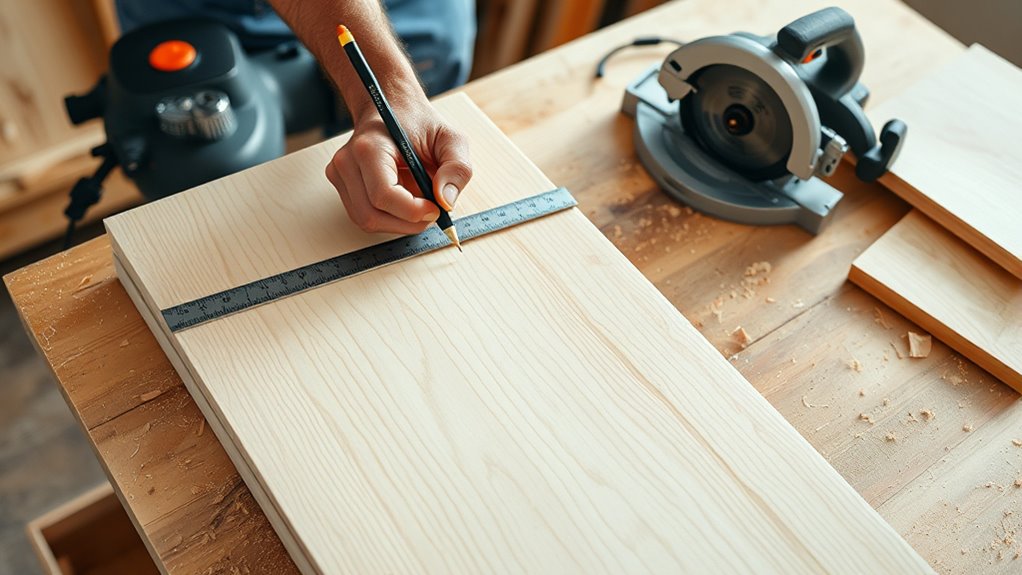
Now that you’ve gathered your materials and tools, it’s time to put them to work. Cutting your cabinet materials accurately is crucial for a professional-looking finished product. Start by reviewing your design plans and double-checking all measurements before making any cuts.
Accurate cuts are essential for a professional-looking cabinet. Always review your design plans and double-check measurements before cutting.
Use these essential cutting techniques:
- Measure twice, cut once to prevent costly mistakes
- Mark cut lines clearly with a pencil and straightedge
- Use a table saw for straight, clean edges on large pieces
- Apply a circular saw for angled or curved cuts when needed
- Wear safety glasses and keep hands away from blade paths
Position your cabinet materials on a stable work surface with proper support. Take your time during this phase. Rushed cuts lead to poor-fitting components. Sand rough edges after cutting to ensure smooth joints. Organize cut pieces by cabinet section to streamline your assembly process later.
Assemble the Cabinet Frames and Sides
You’ll start by joining your wood pieces together using wood glue and dowels or biscuits for a strong bond. Once you’ve got the frame components aligned correctly, go ahead and secure the joints with hardware like corner braces or L-brackets to reinforce the structure. This step makes sure your cabinet frames are rigid and ready to support the weight of doors, shelves, and everything inside.
Joining Wood Pieces Together
After you’ve cut all your wood pieces to size, it’s time to join them into sturdy cabinet frames and sides. You’ll want to master several joinery techniques to guarantee your cabinets hold up over time.
Consider these effective joining methods:
- Pocket hole joinery for quick, hidden fastening
- Mortise and tenon joints for maximum strength
- Dovetail joints for premium corner connections
- Biscuit joinery for alignment and reinforcement
- Dowel joints for simple, reliable assembly
For most kitchen cabinets, you’ll rely on glue joints combined with screws or nails. Apply wood glue generously to mating surfaces, then clamp pieces together firmly. Let the glue cure completely before moving forward.
This foundation determines your cabinet’s durability and stability, so don’t rush this critical step.
Securing Joints With Hardware
While glue creates a strong bond, hardware reinforces your joints and guarantees they’ll withstand the weight and stress of daily kitchen use. Your hardware selection depends on your cabinet style and design preferences.
For hidden joints, pocket hole screws offer a clean, professional appearance by concealing fasteners inside the cabinet frame. You’ll drill angled holes through one board into another, then drive screws through them. This method provides exceptional strength without visible hardware.
Alternatively, consider dowels or biscuits for reinforcement if you prefer traditional joinery. These work well alongside glue for added stability.
Always choose hardware rated for cabinetry applications. Quality screws, bolts, and brackets ensure your joints remain secure through years of opening and closing cabinet doors. Proper hardware selection directly impacts your cabinet’s longevity and performance.
Add Shelves and Internal Supports
Now that your cabinet frames are all put together, it’s time to measure and space your shelves based on your storage needs and design. You’ll want to install support brackets at exact intervals along the inside walls, making sure they’re level and firmly attached so they can hold up the weight of your stuff. Getting the spacing and bracket placement just right is super important because it affects how functional and durable your cabinets will be in the long run.
Measuring and Spacing Shelves
Once you’ve assembled your cabinet box, you’ll need to measure and install shelves that fit your storage needs. Proper shelf measurement and spacing guarantee functionality and prevent wasted space.
Start by measuring your cabinet’s interior height and width. Think about what you’ll store to figure out the right shelf spacing:
- Dishes and bowls 10-12 inches between shelves
- Canned goods 6-8 inches between shelves
- Small appliances 14-16 inches between shelves
- Glassware 8-10 inches between shelves
- Mixed items 12-14 inches between shelves
Mark your measurements on both cabinet sides using a level to make sure everything is accurate. Install shelf supports at these marks, then place your shelves on top. Double-check that shelves sit level before loading items.
Proper shelf spacing maximizes your storage capacity while keeping everything accessible.
Installing Support Brackets Properly
Three key elements determine whether your shelves will stay secure and level: bracket quality, proper installation, and correct spacing. Start by positioning your support brackets at consistent intervals, typically every 16 to 24 inches, along the cabinet sides.
Mark your bracket holes using a level and pencil to ensure perfect alignment. Drill pilot holes slightly smaller than your screws to prevent wood splitting. Install brackets firmly using appropriate fasteners for your cabinet material.
For proper installation, tighten all screws completely before adding shelves. Test bracket stability by applying downward pressure. Verify that shelves sit evenly on support brackets using a level. Uneven shelves mean misaligned brackets that need adjustment. Double-check all brackets before loading shelves with dishes or cookware.
Secure the Back Panel and Square the Frame
How do you guarantee your cabinet frame is perfectly square? You’ll need to secure the back panel and master frame squaring techniques.
Start by measuring your frame’s diagonals. They should be identical. If they’re not, you’ve got a problem that’ll compound later. Here’s your process:
Measure diagonally from corner to corner in both directions. Adjust the frame by gently tapping it until measurements match.
Install the back panel using a pneumatic nailer or brad nails. Verify squareness again after securing the panel.
Check for gaps between the frame and panel edges. The back panel acts as a critical reinforcement, holding your frame square during assembly.
Don’t rush this step. Nail the panel securely every 6 inches around the perimeter.
This frame squaring ensures your doors’ll hang properly and your cabinet will function smoothly for years. Precision here prevents frustrating adjustments down the road.
Build Cabinet Doors
Now that your frame’s squared and rock-solid, you’re ready to build the cabinet doors, the visible components that’ll define your cabinet’s appearance and functionality. Start by cutting your door panels to size, making sure they’re slightly smaller than your frame openings for proper clearance.
Next, construct the door frame using stiles and rails. Join them with pocket holes or mortise-and-tenon joints for durability. Then, add your chosen panel material—whether solid wood, plywood, or MDF—into the frame’s center grooves.
Once assembled, focus on door finishing. Sand all surfaces progressively through grits, then apply your preferred stain or paint in thin, even coats. Don’t skip sealing; it protects against moisture and wear.
Finally, tackle hinge installation carefully. Mark hinge locations precisely on both the door and cabinet frame, then drill pilot holes. Mount hinges securely, adjusting them afterward for perfect alignment and smooth operation.
Hang Doors and Adjust Alignment
You’ll want to install the door hinges properly to make sure your doors hang straight and work smoothly. After you’ve mounted the hinges, the next step is to level and align each door. This way, every door will sit perfectly within the cabinet frame.
Once that’s done, you can fine-tune the door gaps. This helps create even spacing all around, giving your kitchen cabinets a polished and professional look. It’s all about those little adjustments that make a big difference!
Installing Door Hinges Properly
After you’ve built your cabinet frame and doors, it’s time to hang them with properly installed hinges. You’ll find several hinge types available, including butt hinges, concealed hinges, and European cup hinges. Each type requires specific installation techniques.
Start by marking hinge locations on both your door and cabinet frame. Here’s what you need to do:
- Measure and mark hinge positions precisely
- Drill pilot holes to prevent wood splitting
- Attach hinges to the door first, then the frame
- Use a level to ensure proper alignment
- Test door swing before final tightening
Once installed, hinge adjustment becomes your next focus. Most modern hinges allow you to fine-tune the door’s position vertically and horizontally. Make small adjustments gradually, checking alignment frequently until your doors hang perfectly straight and close smoothly.
Leveling and Aligning Doors
Three critical adjustments, vertical, horizontal, and depth, determine whether your cabinet door hinges hang perfectly. You’ll need a level and shims to achieve proper positioning.
Start by checking vertical alignment using your level against the door’s edge. Adjust the cabinet door hinges’ top and bottom screws to correct any tilting. Next, address horizontal alignment by ensuring consistent gaps between doors. Loosen hinge screws slightly and shift the door left or right as needed.
Finally, tackle depth adjustment by tightening or loosening the middle hinge screw. This controls how far the door extends from the cabinet frame. Door alignment techniques require patience and precision. Make small adjustments, then step back to evaluate results. Test the door’s swing to confirm smooth operation without binding or rubbing.
Fine-Tuning Door Gaps
Once you’ve aligned your cabinet doors perfectly, consistent gaps between them become your next focus. You’ll want to achieve uniform spacing across all doors for a polished appearance.
Start by measuring gaps at multiple points on each door. Use these hinge adjustment techniques:
Loosen the top hinge screw slightly. Adjust the door up or down incrementally. Check gaps after each minor adjustment. Tighten screws once satisfied with positioning. Repeat for remaining doors systematically.
Fine-tuning requires patience and precision. Make small adjustments rather than large movements, as tiny turns dramatically affect door alignment.
Step back frequently to visually assess your progress. Consistent gaps demonstrate quality craftsmanship and ensure doors close smoothly without binding. Your meticulous hinge adjustment work now pays off, creating cabinet doors that look professionally installed and function flawlessly.
Install Drawer Boxes and Slides
With your cabinet frame and face frame secured, you’re ready to install the drawer boxes and slides. Start by selecting the appropriate slide mechanism for your needs. Ball-bearing slides offer smooth operation and durability, while undermount slides provide a sleek, modern appearance.
Measure your cabinet opening carefully to ensure your drawer boxes fit properly. Position the slides according to the manufacturer’s instructions and secure them with screws. Most slides require mounting on both the cabinet side and the drawer box itself.
Install your drawer boxes one at a time, aligning them carefully with the slides. Test each drawer’s movement before fully securing it. Once you’ve confirmed smooth operation, you can plan your drawer organization system. Think about dividers, organizers, or compartments that suit your storage needs and cooking habits.
Proper installation ensures years of reliable drawer function and convenient drawer organization in your new kitchen cabinets.
Sand, Finish, and Install Wall Hardware
Now that your drawers are operating smoothly, you’ll want to focus on the cabinet’s appearance and wall security. Start by applying proper sanding techniques to smooth all surfaces and edges. You’ll progress through various grits, beginning with coarse sandpaper and finishing with fine-grit paper for a polished result.
Next, consider your finishing options. You can stain for a natural wood appearance, paint for a modern, uniform look, use polyurethane for added durability and protection, choose varnish for a professional, glossy finish, or go with combination staining and sealing for enhanced depth.
After your chosen finish dries completely, install wall hardware. Locate wall studs using a stud finder, then secure mounting brackets with appropriate fasteners. These brackets provide essential support for your cabinets’ weight and contents.
Install any additional hardware like handles or decorative elements according to your design preferences. Double-check that everything’s level and secure before considering this phase complete.
Frequently Asked Questions
How Do I Prevent My Kitchen Cabinets From Warping Over Time?
You’ll prevent warping by maintaining consistent humidity levels in your kitchen. Aim for 30-50% moisture.
You should regularly check cabinet hinge adjustments to prevent stress on the frame, as misalignment causes warping. Keep cabinet doors properly closed and monitor cabinet door alignment monthly.
You’ll also want to avoid placing cabinets near heat sources or direct sunlight. Use quality wood finishes and seal all surfaces properly.
These preventive measures will keep your cabinets stable and warp-free for years.
What’s the Best Finish to Protect Cabinets From Moisture and Stains?
You’ll want a protective finish that works like a shield against your kitchen’s harsh environment. For cabinet painting, polyurethane and conversion varnish are your best bets because they’re incredibly durable.
After your cabinet painting project, finish sealing with a water-based or oil-based polyurethane. This creates a moisture barrier that resists stains effectively. You should apply at least two coats for maximum protection.
This combination will keep your cabinets looking pristine for years.
Can I Modify Cabinet Dimensions After Building to Fit My Space?
Yes, you can modify your cabinets after building them. You’ll need to carefully measure your space and determine which dimensions you’re adjusting.
For custom fitting, you can trim the sides, top, or bottom using a table saw or circular saw. However, you should plan adjustments before assembly when possible.
If you’re altering width considerably, you might need to reinforce internal supports. Take precise measurements twice before making any cuts to avoid costly mistakes.
How Much Weight Can Standard Kitchen Cabinet Shelves Safely Hold?
You might think standard shelves can’t handle much, but they’re tougher than you’d expect. Most kitchen cabinet shelves safely hold 50-100 pounds per shelf, depending on material and support spacing.
However, you’ll want shelf reinforcement if you’re storing heavier items like cast iron or small appliances. Adding a center support rail boosts your weight capacity considerably.
Always check your cabinet’s specific weight capacity specifications to maximize safety and durability in your kitchen.
What’s the Cost Difference Between Plywood and Solid Wood Cabinet Construction?
You’ll find plywood construction costs 30-50% less than solid wood cabinets. Plywood offers excellent material durability at a lower price point, making it ideal for your budget comparison.
While solid wood commands premium pricing due to its longevity and aesthetic appeal, you’re getting proven durability with either option. Your choice depends on whether you’re prioritizing upfront savings with plywood or investing in solid wood’s long-term value and appearance.
Conclusion
You’ve now got the skills to build custom kitchen cabinets that’ll save you thousands. Did you know that custom cabinetry can cost up to 50% more than DIY alternatives?
By tackling this project yourself, you’re not just creating functional storage, you’re crafting personalized spaces that reflect your style. Your kitchen’s transformation starts with these ten straightforward steps.
You’ll love the quality and satisfaction that comes with your handiwork when you build kitchen cabinets on your own. How to Build Kitchen Cabinets.