How to Construct a Cabinet in 5 Easy Steps
Building a cabinet from scratch can feel overwhelming if you’re not sure where to start. You’re not alone—many people struggle with figuring out the right steps and tools to create a sturdy, beautiful piece.
Whether you want to save money or customize your storage, knowing the basics of how to construct a cabinet is a great place to begin.
You’ll design your cabinet layout with precise measurements, then gather essential tools like saws and drills.
Next, you’ll cut and assemble the frame using wood glue and proper joinery techniques.
After that, you’ll sand progressively and apply your chosen finish in thin coats.
Finally, you’ll locate wall studs and secure the cabinet with heavy-duty hardware.
Following these steps creates a sturdy, custom cabinet, though there’s considerably more detail to master each phase successfully.
Key Takeaways
- Measure your space carefully and create detailed sketches of cabinet dimensions, layout, and door swing before cutting any materials.
- Gather essential tools including tape measure, circular saw, drill, level, and miter saw; sharpen blades and calibrate equipment for accuracy.
- Cut wood pieces precisely using a fine-toothed blade, sand edges immediately, apply wood glue, and assemble with proper joinery techniques.
- Sand surfaces progressively with finer grits, apply protective coating in thin even coats, and install hardware using consistency templates.
- Locate wall studs with a stud finder, install heavy-duty brackets with rated lag bolts, level carefully, and verify stability.
Design Your Cabinet Layout and Measurements
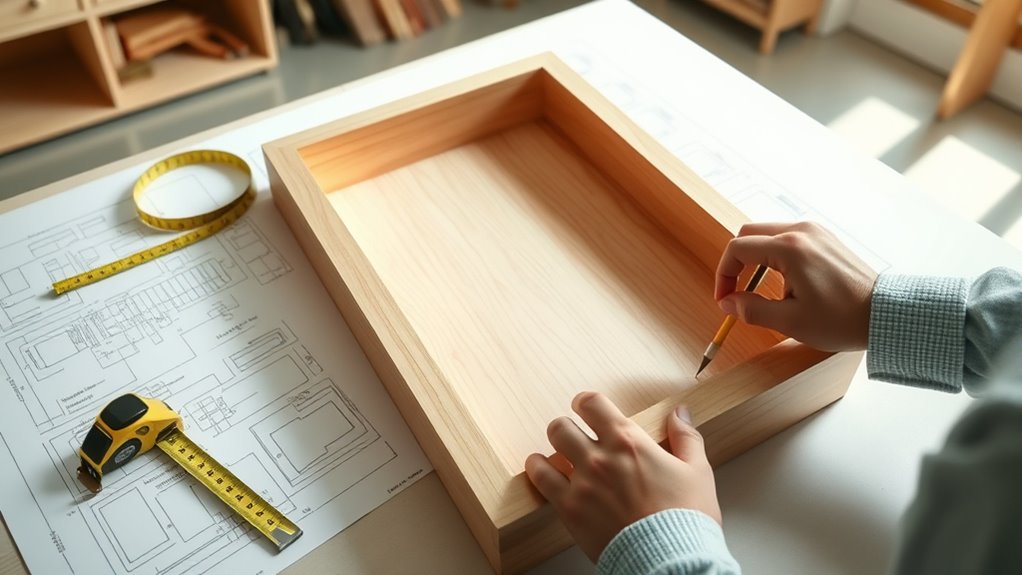
Before you cut a single board, you’ll need to measure your space carefully and sketch out your cabinet’s dimensions. Start by measuring the height, width, and depth of your intended location, accounting for baseboards and any obstacles. Record these measurements precisely on paper.
Next, decide on your cabinet style, whether you’re building a traditional frame and panel design or a modern flat-pack style. This choice affects your material selection and construction complexity.
Consider your storage options early. Will you need shelves, drawers, or a combination of both? Determine shelf spacing based on what you’ll store. Taller items require greater vertical clearance, while smaller objects fit efficiently on closely spaced shelves.
Create a detailed sketch showing the cabinet’s exterior dimensions and interior layout. Include shelf positions, drawer depths, and door swing directions. Double-check all measurements against your space to make certain the finished cabinet fits perfectly without gaps or interference.
Gather Your Tools and Materials
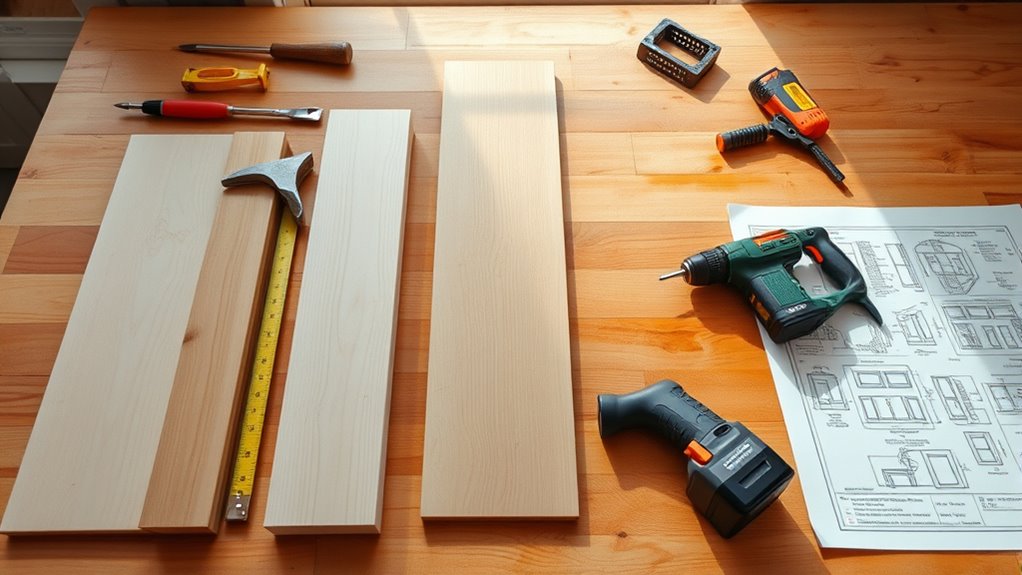
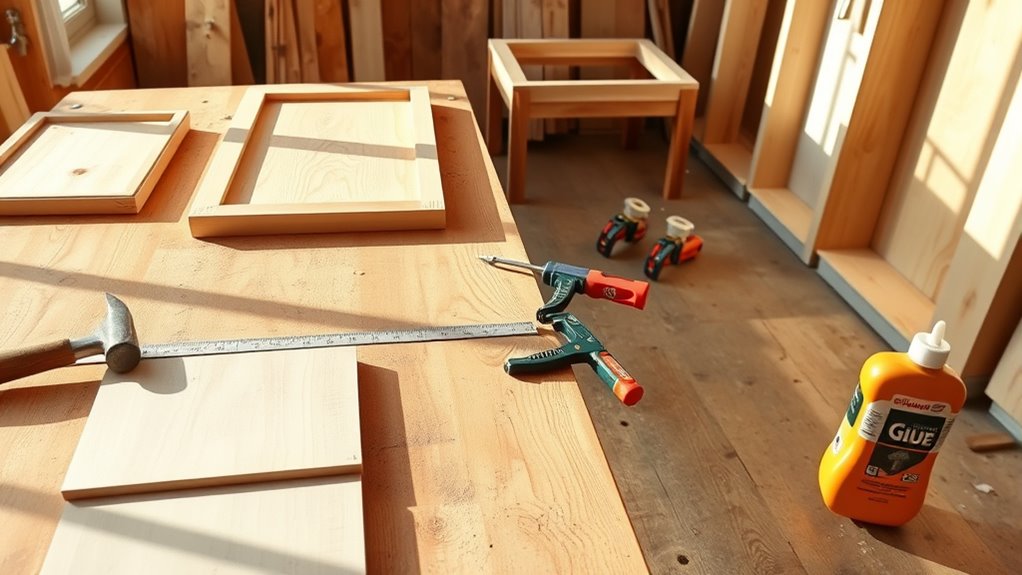
Once you’ve finalized your cabinet design, you’ll need to assemble the right tools and materials to bring your plan to life. Start with essential hand tools: a tape measure, circular saw, drill, and level. You’ll also need a miter saw for precise angle cuts and a brad nailer for secure fastening.
Material selection is vital to your project’s success. Choose quality plywood or solid wood based on your budget and aesthetic preferences. Select wood screws, wood glue, and sandpaper in various grits for finishing.
Before beginning construction, prioritize tool calibration. Confirm your saw blades are sharp and your level is accurate. Check that your drill bits match your screw sizes precisely. Verify all measuring instruments function correctly.
Gather safety equipment too: safety glasses, work gloves, and a dust mask. Organize everything on your workspace so you’ll work efficiently and safely throughout the building process.
Cut and Assemble the Cabinet Frame
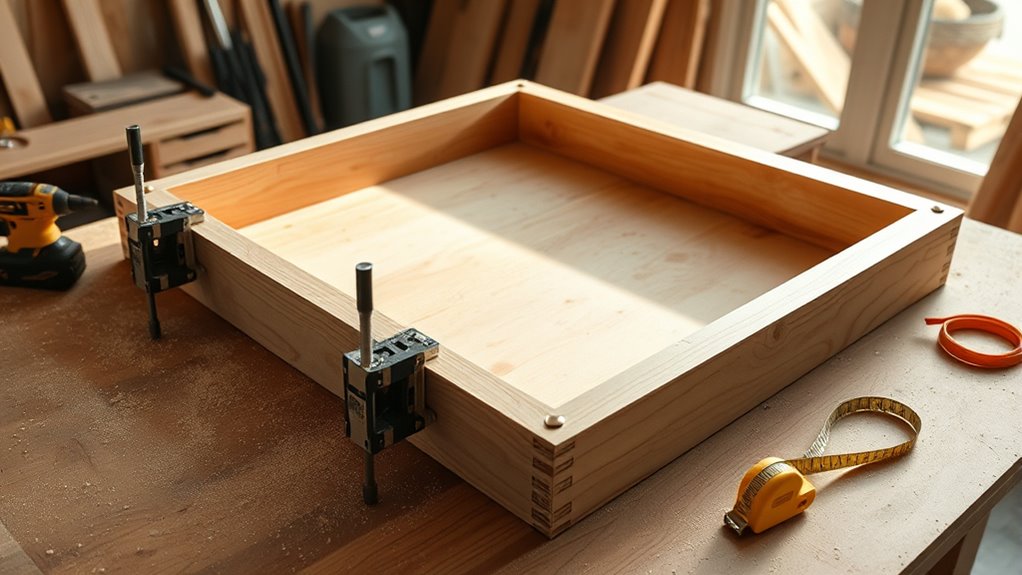
With your tools calibrated and materials organized, you’re ready to begin cutting the cabinet frame pieces. Your material selection directly impacts the cabinet’s durability and appearance, so choose quality wood that matches your design specifications.
Follow these essential steps for proper joinery techniques:
- Measure twice and cut once to guarantee accurate dimensions for all frame components
- Use a table saw or circular saw with a fine-toothed blade for clean, precise cuts
- Sand all edges immediately after cutting to prevent splinters and guarantee smooth joints
- Apply wood glue to joints before assembly for stronger bonds
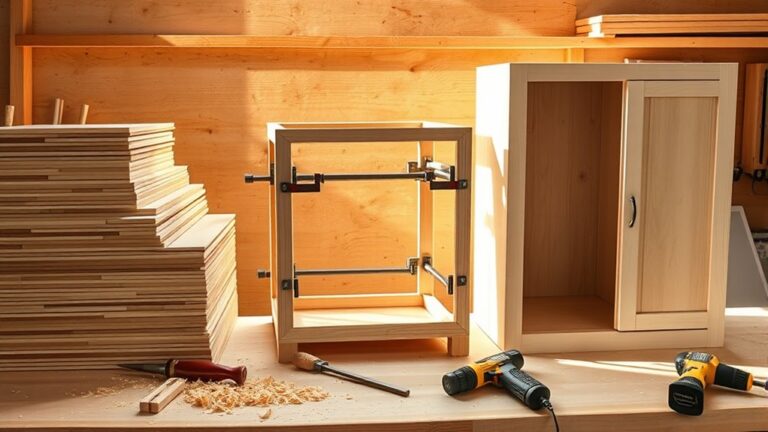
Assemble the frame by connecting vertical stiles to horizontal rails using your chosen joinery techniques. Clamp the pieces firmly while the glue dries. Check that all corners are square using a carpenter’s square. This step is critical for proper cabinet alignment.
Your frame’s structural integrity depends on precise cuts and solid assembly. Take your time during this phase to avoid costly mistakes later.
Finish and Protect Your Cabinet
Now that your cabinet frame is assembled and square, you’re ready to apply finishing touches that will protect your wood and improve its appearance. Begin by sanding all surfaces with progressively finer grits to create a smooth foundation for finish techniques.
Sand all surfaces with progressively finer grits to create a smooth foundation for your cabinet’s protective finish.
Choose your protective coating, whether it’s polyurethane, stain, or paint, based on your desired look and durability needs. Apply your chosen finish in thin, even coats, sanding lightly between applications for maximum adhesion. This helps prevent drips and ensures a professional-quality result.
Once your finish has fully cured, focus on hardware selection. Quality handles, hinges, and knobs improve both functionality and style. Install hardware at precise measurements and use a template to keep consistency across cabinet doors.
Finally, add any shelving or internal components before sealing the cabinet completely. Proper finishing protects against moisture damage, extends your cabinet’s lifespan, and delivers that polished, custom look you want.
Mount and Secure Your Cabinet
After investing time in finishing your cabinet, you’ll want to guarantee it stays exactly where you put it. Proper mounting prevents accidents and protects your investment.
Start by locating wall studs using a stud finder. They provide the support your cabinet needs. Here’s what you’ll do:
- Position your cabinet against the wall and mark stud locations
- Install heavy-duty brackets with appropriate hardware installation techniques
- Use lag bolts or screws rated for your cabinet’s weight
- Level everything before tightening completely
Safety precautions are non-negotiable. Wear safety glasses during hardware installation to protect your eyes from debris. Never skip anchors in drywall-only sections because they’ll fail under pressure.
Double-check all connections before loading your cabinet. If wall-mounted, make sure nothing extends beyond safe reach zones. For floor cabinets, use shims to achieve perfect leveling.
Your careful attention now prevents tipping hazards and makes certain your cabinet remains secure for years.
Frequently Asked Questions
How Do I Choose the Right Wood Type for My Cabinet Project?
You’ll want to take into account your cabinet’s location and purpose when selecting wood. If you’re building a bathroom or kitchen cabinet, you’ll need wood with superior moisture resistance, like teak or cedar.
For visible surfaces, you’ll appreciate attractive wood grain patterns found in oak, walnut, or maple. You should also think about your budget and skill level.
Hardwoods look stunning but cost more, while softwoods offer affordability and easier workability for beginners.
What Is the Best Way to Organize Items Inside the Cabinet?
You’ll want to start by installing interior lighting so you can easily see everything you’ve stored. Next, you should use shelf dividers to create designated zones for different items. This keeps things separated and prevents clutter from accumulating.
Group similar items together, placing heavier objects on lower shelves. You can utilize vertical space efficiently by stacking containers strategically. Don’t overcrowd your shelves; leaving some breathing room makes items easier to locate and access whenever you need them.
How Can I Repair Cabinet Damage or Mistakes After Assembly?
You’ve brilliantly assembled your cabinet. Congratulations on those creative wood placements! Now you’ll realize that mistakes aren’t permanent disasters.
You can employ touch-up techniques like wood filler and paint to mask surface imperfections. For structural reinforcement, add corner braces or reinforce joints with additional screws and dowels.
Don’t hesitate to disassemble problem areas. It’s easier than living with wobbly shelves forever.
What Hardware Options Are Available for Cabinet Doors and Drawers?
You’ll find numerous hinge types available, including concealed hinges, butt hinges, and pivot hinges, each offering different aesthetics and functionality. For handle styles, you’ve got choices ranging from modern bar handles and cup pulls to traditional knobs and decorative pulls.
You can select hardware finishes like chrome, brass, stainless steel, or black nickel to match your design preferences. You should consider both the cabinet style and your personal taste when choosing hardware that’ll improve your cabinets’ appearance.
How Do I Maintain My Cabinet to Extend Its Lifespan?
You’ve got to keep your eyes on the ball regarding cabinet maintenance. Establish regular cleaning routines using mild soap and water to prevent dust buildup and damage.
Apply appropriate finishing techniques like furniture polish or wax every few months to protect the wood’s surface. You’ll want to avoid excess moisture and direct sunlight, which can warp or fade your cabinets.
These simple steps guarantee your investment stays beautiful for years.
Conclusion
You’ve now completed your cabinet project from start to finish. You’ve measured, gathered, cut, assembled, finished, and mounted your creation. Remember, “measure twice, cut once” – it’s saved you from costly mistakes.
Your cabinet stands as proof of your effort and attention to detail. With proper maintenance, you’ll enjoy this sturdy storage solution for years. You’re ready to tackle your next woodworking project with confidence, especially after learning how to construct a cabinet in 5 easy steps.