How to Make a Cabinet in 3 Simple Steps
If you’ve ever wanted to build your own cabinet but felt overwhelmed by the process, you’re not alone. Many people struggle to figure out where to start and how to get professional results without spending a fortune. The good news is that making a cabinet can be straightforward when you break it down into manageable steps.
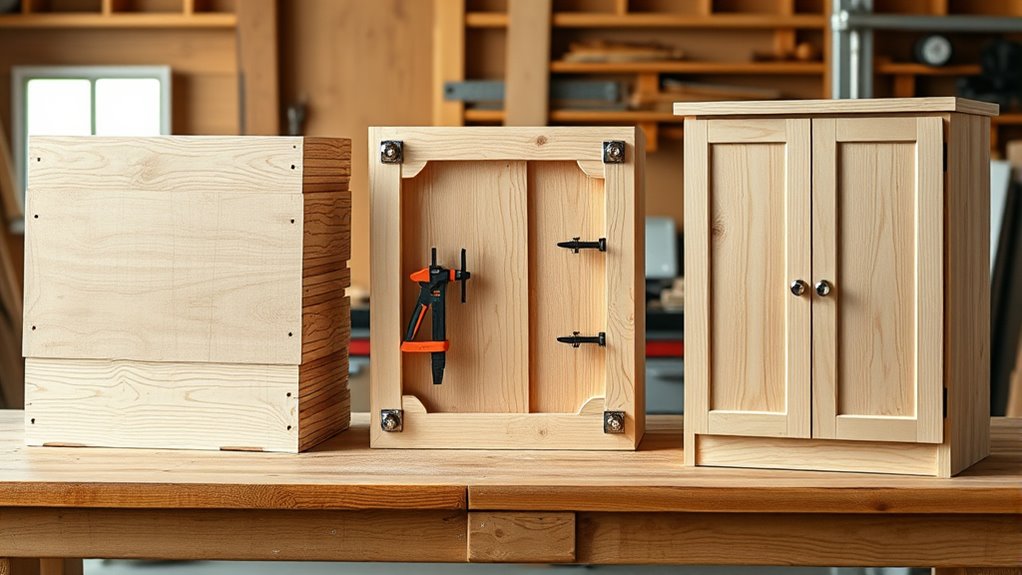
You’ll start by sketching your design, measuring your space, and gathering materials like wood, hinges, and hardware. Next, you’ll cut frame pieces to exact dimensions, select your joinery technique, and dry-fit components before gluing and clamping them together.
Finally, you’ll hang your doors, install hardware, and apply your chosen finish. Follow these phases carefully, and you’ll uncover the specific techniques that’ll make your cabinet truly professional.
Key Takeaways
- Plan your design, measure your space, and gather materials like wood, hinges, and finishing supplies before starting construction.
- Build the cabinet box by cutting frame pieces, using appropriate joinery techniques, dry-fitting components, and ensuring corners are square.
- Attach hinges to doors and frame with precision, hang doors, adjust for even closing, and install handles or knobs.
- Apply your chosen finish, whether paint, stain, or sealant, and allow adequate drying time before using the cabinet.
- Verify measurements are accurate, use clamps during assembly, check squareness throughout construction, and dry-fit all components before gluing.
Step 1: Plan Your Cabinet Design and Gather Materials
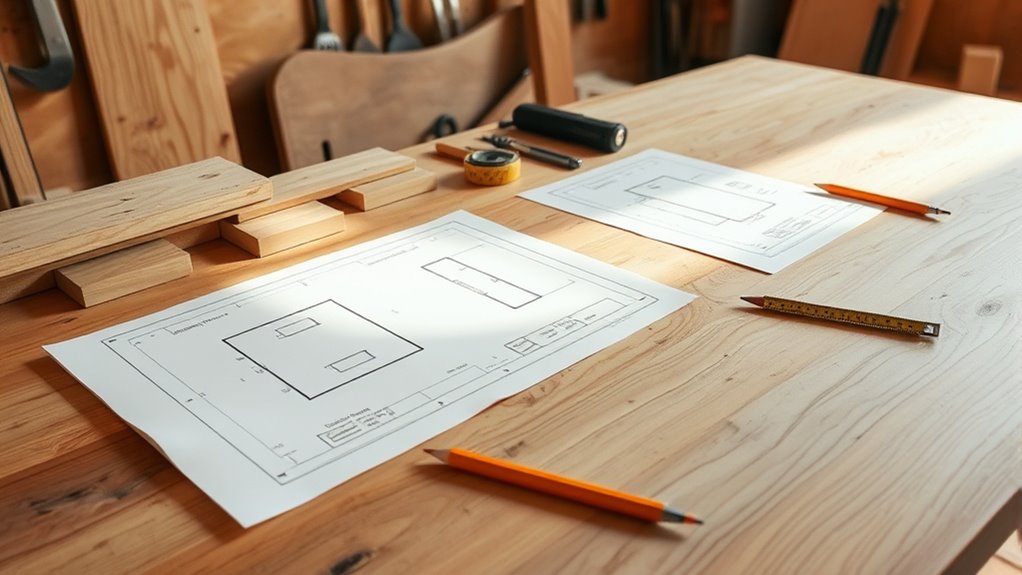
How do you build a cabinet that actually fits your space and needs? Start by sketching your design and measuring your space precisely. You’ll need to decide on cabinet styles that match your room’s aesthetic and functionality. Do you want traditional framed cabinets, modern flat-panel designs, or something in between?
Next, focus on material selection. Consider factors like durability, budget, and maintenance requirements. Solid wood offers longevity and natural beauty but costs more. Plywood provides stability and affordability, while medium-density fiberboard (MDF) works well for painted finishes.
Gather your essential materials: wood or alternative materials, wood glue, fasteners, hinges, handles, and finishing supplies. Don’t forget tools like a circular saw, drill, level, and measuring tape.
Create a detailed materials list based on your cabinet dimensions and design specifications. This prevents costly mistakes and ensures you’ll have everything ready before construction begins.
Step 2: Build Your Cabinet Frame and Assemble the Box
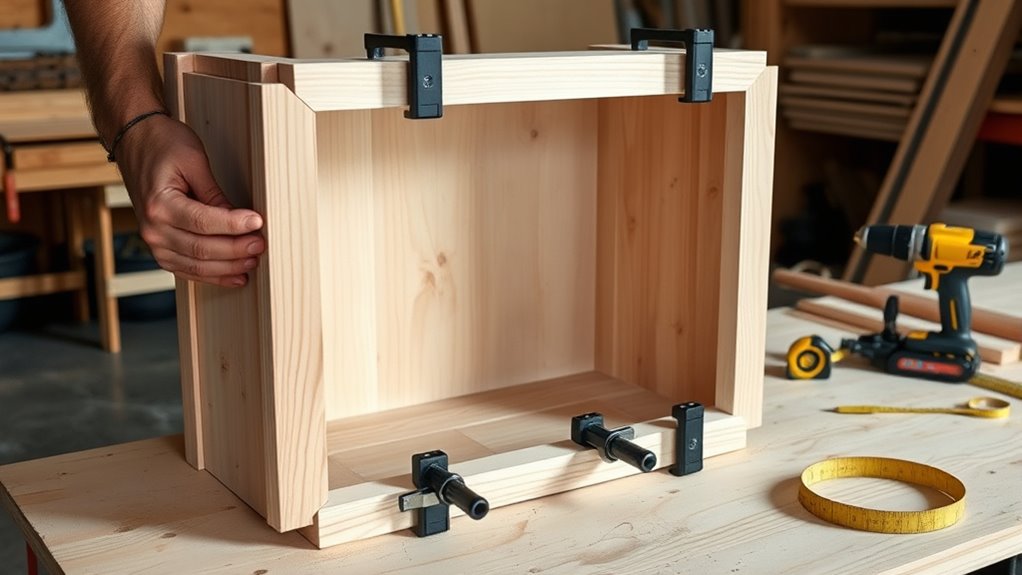
Now that you’ve gathered your materials and finalized your design, it’s time to construct the cabinet’s foundation. Start by cutting your frame pieces to exact dimensions to assure accuracy for proper alignment.
Select appropriate joinery techniques based on your material selection and cabinet style. Mortise and tenon joints offer durability, while pocket hole joinery provides quick assembly. Dowel joints work well for simpler designs.
Select joinery techniques based on your material and cabinet style—mortise and tenon joints for durability, pocket holes for quick assembly, or dowels for simpler designs.
Dry-fit all components before applying glue. This catches mistakes early and guarantees everything aligns correctly. Use clamps to hold pieces firmly while the adhesive sets.
Next, assemble the box by connecting side panels, top, and bottom pieces. Install a back panel for added stability and squareness. Check your work with a square tool to verify all corners are ninety degrees.
Once the frame is assembled and glue is fully cured, you’re ready for the next step: adding doors, shelves, and finishing touches that will complete your cabinet.
Step 3: Hang Doors, Install Hardware, and Finish Your Build
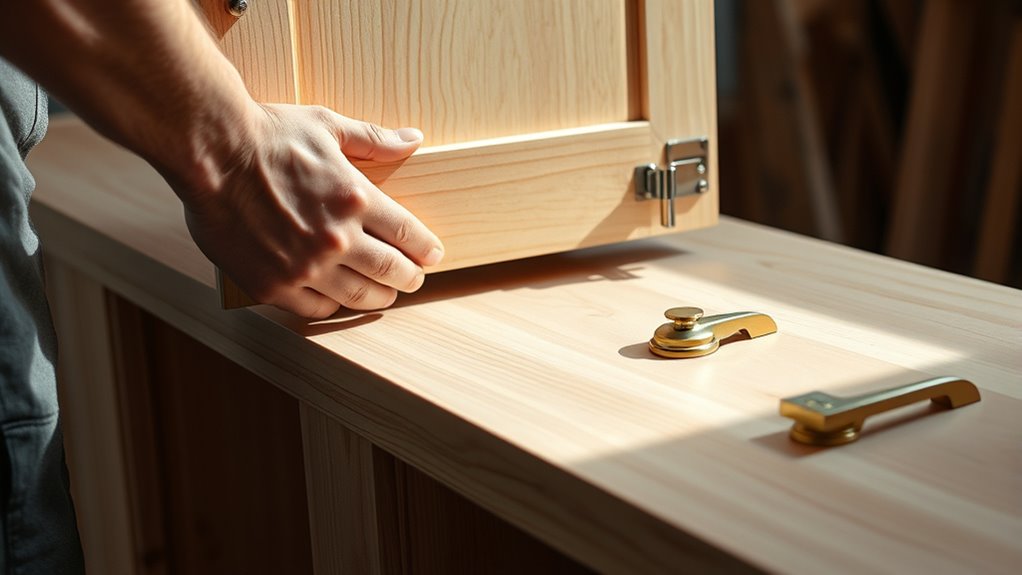
With your cabinet box complete and fully cured, you’re ready to install the doors and hardware that will bring your project to life.
Start by marking your hinge positions on both the door and cabinet frame. Proper hinge alignment is crucial for smooth operation and a professional appearance. Use a drill to create pilot holes, then carefully screw your hinges into place.
Next, hang your doors and test their swing. Make minor adjustments as needed to ensure they close flush and evenly.
For hardware installation, position your handles or knobs according to your design plan. Standard placement is roughly four inches from the top or bottom corner. Drill through-holes for mounting bolts, then secure your hardware from behind.
Finally, apply your chosen finish, whether paint, stain, or sealant, to protect your work and achieve your desired aesthetic. Allow proper drying time before using your cabinet.
Frequently Asked Questions
What Type of Wood Is Best for Cabinet Making on a Budget?
You’ll find that plywood and MDF (medium-density fiberboard) are your best budget-friendly materials for cabinet making. You can save considerably by choosing these options over solid hardwoods.
You’ll appreciate plywood’s durability and resistance to warping, while MDF offers a smooth surface that’s excellent for painting. You can also consider pine or other softwoods if you’re willing to do more finishing work.
You’re making a smart investment by selecting budget-friendly materials that don’t compromise on quality or appearance.
How Do I Fix Mistakes or Fill Gaps in My Cabinet?
You can fix mistakes and fill gaps using several finishing techniques. For small gaps, you’ll apply wood filler and sand it smooth once dry. You can also use caulk for larger cracks, then paint or stain over it.
If your doors don’t align properly, you’ll make hinge adjustments by loosening screws and shifting the hinges slightly. These corrective finishing techniques guarantee your cabinet looks professionally crafted and polished.
What Safety Equipment Do I Need Before Starting the Project?
You’ll want to safeguard your eyes, lungs, and hands before you begin. Grab your safety goggles to shield against flying debris, and don’t skip the dust mask. You’ll breathe easier while sawing and sanding.
Add work gloves to guard your hands from splinters and sharp edges. You’ll also need steel-toed boots for foot protection and hearing protection if you’re using loud power tools. This gear guarantees you’ll complete your project safely and comfortably.
How Long Does It Typically Take to Complete a Cabinet Build?
You’ll typically complete a basic cabinet build in 8-16 hours, spread across several days. Your timeline depends on your cabinet design complexity and chosen finish options.
Simple, box-style cabinets take you about a weekend, while intricate designs with detailed joinery require 2-3 weeks. You’ll need drying time between finish coats, which can extend your project.
Factor in planning and measuring too. You shouldn’t rush these essential steps for quality results.
What Tools Are Essential if I’m a Beginner Woodworker?
Building a cabinet without essential tools is like constructing a house without a foundation. You’ll struggle from start to finish. You’ll need a circular saw, drill, measuring tape, and level to master basic woodworking techniques.
Don’t overlook a pocket hole jig for strong joints and a clamp set for holding pieces steady. You’ll also want quality screwdrivers and chisels.
Finally, invest in proper cabinet hardware installation tools, including a drill bit set, to guarantee your doors and drawers function flawlessly.
Conclusion
You’ve now transformed raw materials into a functional masterpiece. Your cabinet stands as proof of what you can accomplish with patience and precision. Like a sculptor chiseling away at marble, you’ve shaped wood and hardware into something distinctively yours.
You’re not just hanging doors and installing hinges. You’re building confidence in your DIY skills. Take a step back, admire your work, and let this success fuel your next cabinet project.