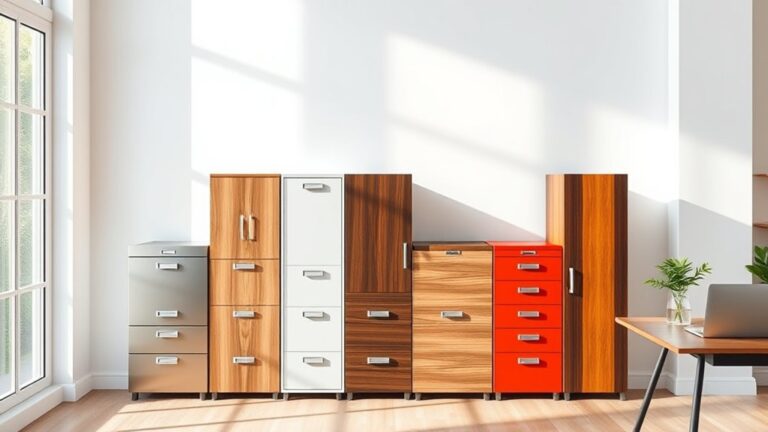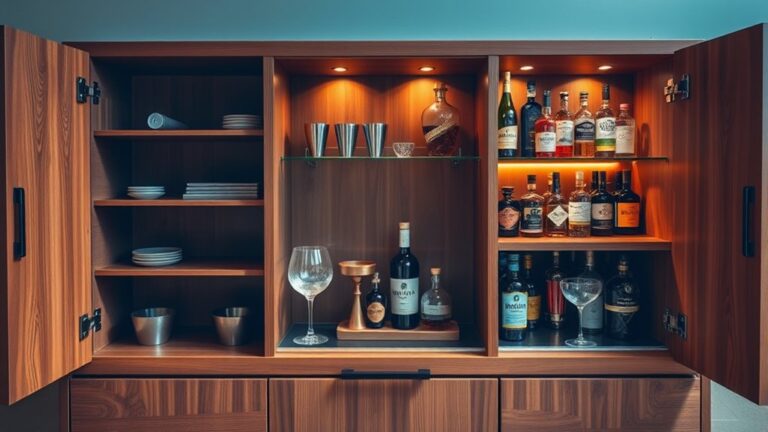
How to Make Kitchen Cabinets in 5 Easy Steps
If you’ve ever dreamed of upgrading your kitchen but felt overwhelmed by the thought of building cabinets from scratch, you’re not alone. Many people struggle with finding the right guidance to create sturdy, beautiful kitchen cabinets without professional help.
The good news? Making kitchen cabinets can be simpler than you think with the right approach and tools.
You’ll gather essential tools like a table saw and miter saw, then measure your space twice before cutting plywood components. Next, you’ll assemble the frame using pocket hole joinery and wood glue, ensuring corners stay square.
Then install shelves, doors, and hardware with proper alignment. Finally, you’ll sand everything thoroughly, apply stain and polyurethane, and hang your cabinets securely using wall studs.
The details on perfecting each step await ahead.
Key Takeaways
- Gather essential tools like a table saw, miter saw, and drill. Get quality materials such as plywood, screws, and hinges. Then, finalize your cabinet design with accurate measurements.
- Cut plywood components precisely and sand all edges with 120-150 grit sandpaper. Make sure corners are square before you start assembly.
- Assemble the cabinet frame using pocket hole joinery, wood glue, and clamps. This will help create sturdy, square joints.
- Install shelves at marked intervals, attach hinges to doors, and mount hardware. Adding lighting can boost both functionality and aesthetics.
- Sand exterior surfaces thoroughly, apply stain following the wood grain, and finish with a polyurethane topcoat. Finally, hang the cabinets securely using wall studs.
Gather Your Tools, Materials, and Cabinet Design
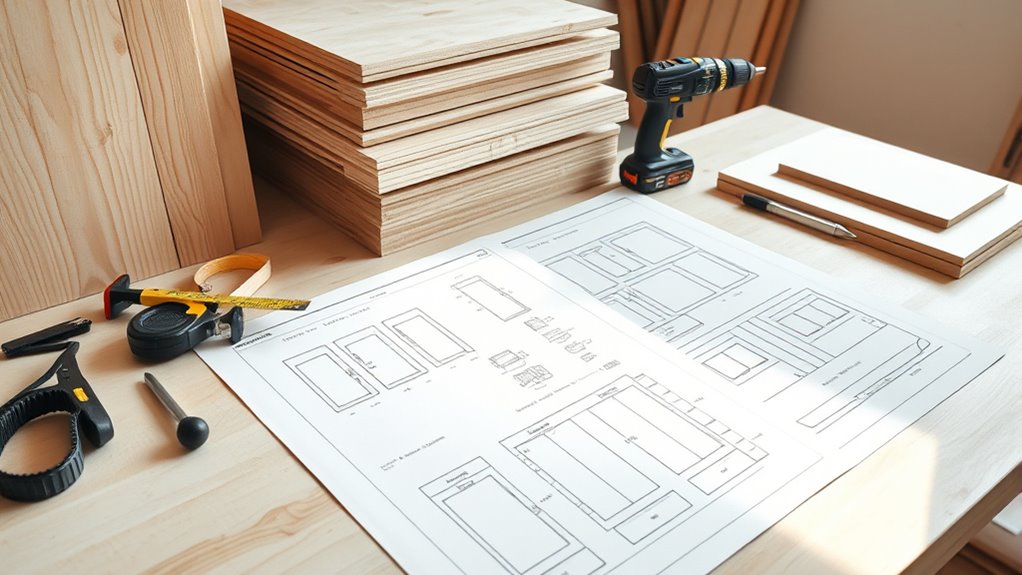
Before you build anything, you’ll need to gather your tools, materials, and a solid cabinet design.
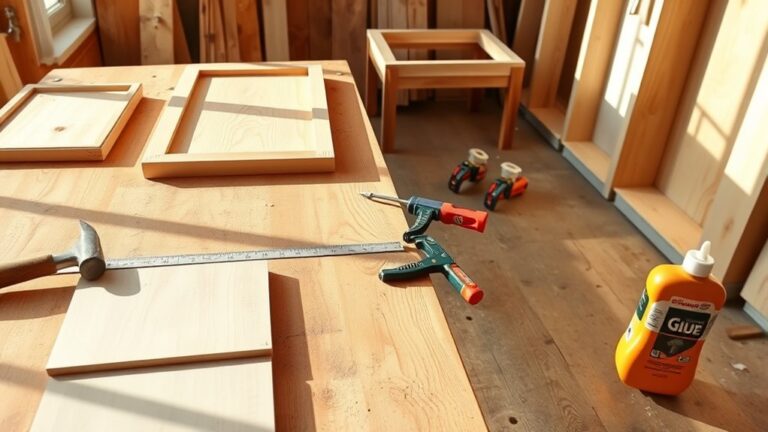
Start by assembling essential tools: a table saw, miter saw, drill, circular saw, measuring tape, and square. You’ll also need clamps, sandpaper, and wood glue for assembly.
For materials, purchase quality plywood or solid wood boards, wood screws, hinges, and handles. Consider your finish, whether stain or paint, and gather appropriate supplies.
Next, finalize your cabinet design. Measure your kitchen space carefully and decide on dimensions, shelving layout, and door styles. Research cabinet lighting options that will brighten your workspace and enhance functionality.
Think about kitchen ventilation requirements too, especially if your cabinets are near cooking areas. Sketch your design or use online tools to visualize the final product.
Having detailed plans prevents costly mistakes during construction. Review local building codes for any specifications affecting your cabinetry project.
Cut and Prep Your Cabinet Boxes
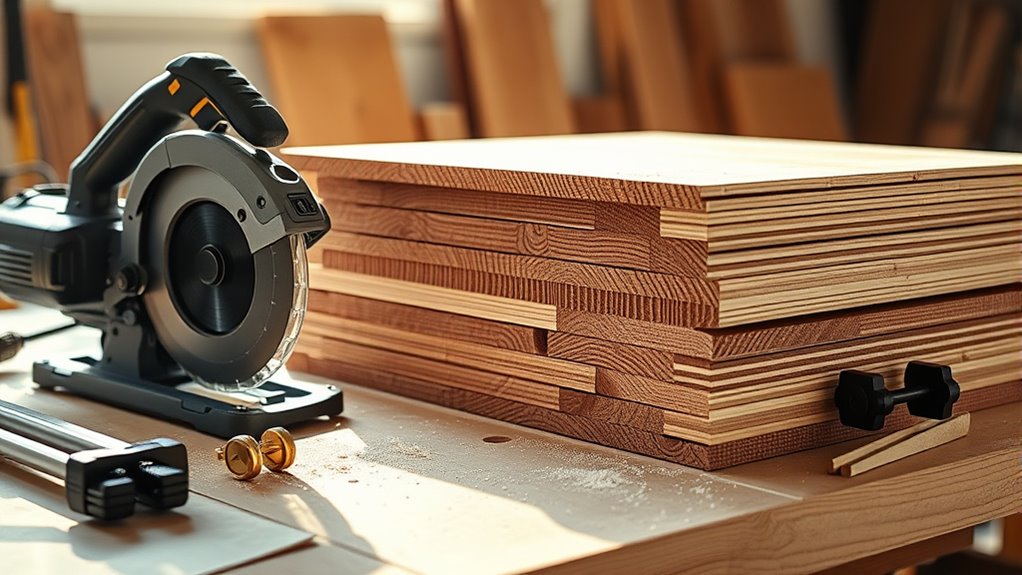
With your tools gathered and design finalized, you’re ready to transform raw materials into cabinet box components. Start by measuring your plywood sheets twice to verify accuracy, then cut them according to your design specifications using a table saw or circular saw.
| Component | Dimensions | Material |
|---|---|---|
| Side panels | 34.5″ × 24″ | 3/4″ plywood |
| Top/bottom | 24″ × 23.75″ | 3/4″ plywood |
| Back panel | 34.5″ × 24″ | 1/4″ plywood |
Sand all cut edges and surfaces thoroughly to prepare them for cabinet finishing. Use 120-grit sandpaper initially, then progress to 150-grit for smoothness. Check that corners are square using a carpenter’s square before assembly.
Plan your layout carefully, especially around appliance integration points. Mark pocket hole locations and drill them precisely. Pre-drill screw holes to prevent splitting. This preparation work guarantees your boxes assemble cleanly and your doors’ll hang perfectly.
Build Your Kitchen Cabinet Frame and Sides
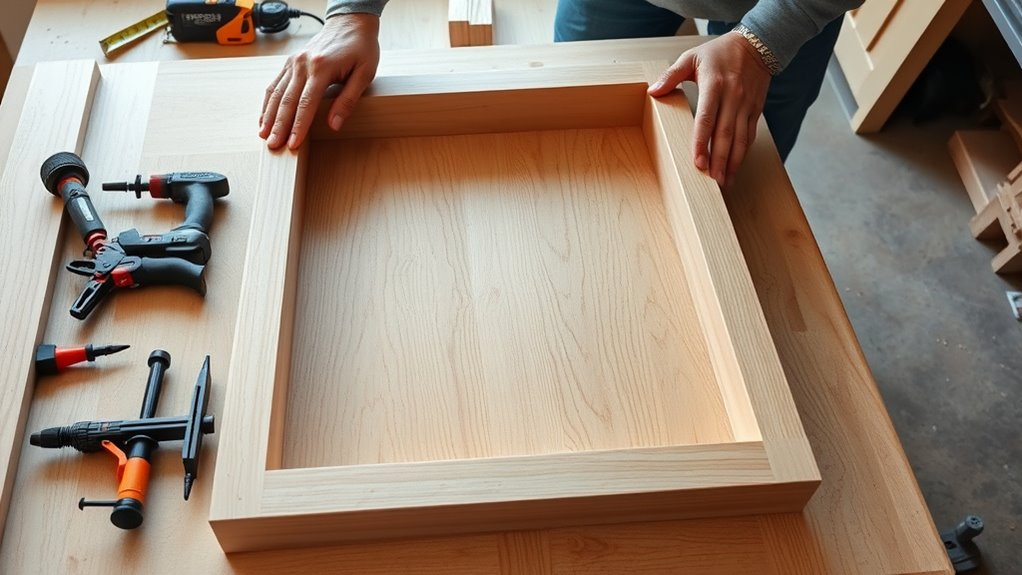
Now that your components are prepped and ready, you’ll assemble the cabinet frame by connecting your side panels to the top and bottom pieces using pocket hole joinery. This method ensures strong, invisible joints that will hold up under daily use.
Start by applying wood glue to all connection points, then drive pocket hole screws through your pilot holes. Make sure everything is square by measuring diagonals; they should be equal. Clamp the frame while the glue dries completely.
Once your frame is solid, you’ll install any custom molding you’ve chosen for added visual interest. This is your chance to personalize the design and match your kitchen’s aesthetic.
Before moving forward, sand all surfaces thoroughly to prepare them for cabinet painting. A smooth finish makes painting easier and produces professional results. Check all joints for tightness, and you’re ready for the next phase of construction.
Install Shelves, Doors, and Hardware
Your cabinet frame’s solid foundation makes installing shelves, doors, and hardware straightforward. Begin by measuring and marking shelf positions inside your cabinet box, then secure shelf supports or rails at consistent intervals.
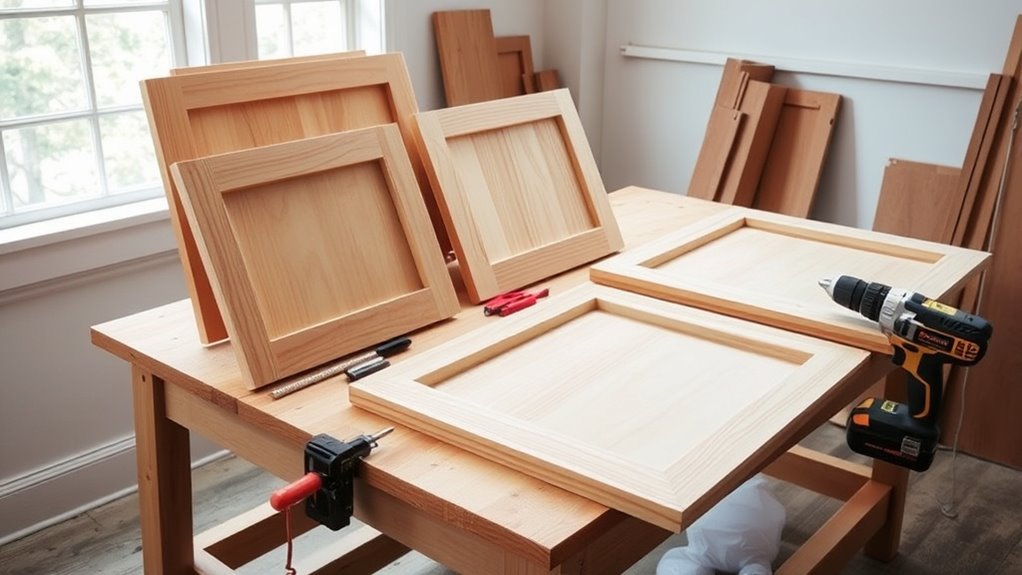
Next, install your cabinet doors by attaching hinges to the door’s inner edge, then mounting them to the frame. Confirm doors align properly and close smoothly without binding.
Add hardware like handles and knobs, positioning them at a comfortable height for easy access. Space multiple knobs evenly across wider doors.
Consider incorporating cabinet lighting to improve functionality and aesthetics. LED strips work well for illuminating shelving and work surfaces beneath wall cabinets.
Finally, personalize your cabinets with decorative accents such as glass inserts, trim molding, or crown details. These finishing touches boost your kitchen’s appearance while maintaining the professional quality you’ve built throughout this project.
Sand, Stain, and Hang Your Cabinets
Before you’ll need to prepare their exterior surfaces through sanding and staining. Proper surface preparation guarantees a professional-looking finish that’ll last for years.
Start by sanding all cabinet surfaces with medium-grit sandpaper to remove imperfections and create a smooth base. Then, progress to fine-grit sandpaper for the final pass. Wipe away dust with a tack cloth before staining.
Cabinet finishing requires careful attention to detail:
- Apply wood stain evenly using a brush or cloth
- Work in the direction of the wood grain
- Allow adequate drying time between coats
- Sand lightly between coats for better adhesion
- Apply a protective polyurethane topcoat
Once your stain and finish have fully cured, you’re ready to hang your cabinets. Use a level and wall studs to ensure proper installation. Secure cabinets firmly with appropriate brackets and fasteners. This surface preparation work transforms your handmade cabinets into stunning kitchen features.
Frequently Asked Questions
How Do I Choose the Right Wood Type for My Kitchen Cabinets?
You’ll want to contemplate durability, aesthetics, and budget when selecting wood. Hardwoods like oak, maple, and cherry offer longevity and beauty, while softwoods cost less.
You should also think about cabinet finishing options. Stains and paints affect appearance differently on various woods.
Don’t overlook hardware selection, as it complements your wood choice. Ultimately, you’ll balance your desired style with practical maintenance requirements and financial constraints to find your perfect match.
What Is the Estimated Cost to Build Kitchen Cabinets Myself?
It’s coincidental that you’re asking this right when cabinet prices are rising! You’ll typically spend $1,500 to $5,000 building cabinets yourself, depending on wood quality and size.
Start with budget planning by listing materials needed, like wood, hardware, and finishes. Use design inspiration from online galleries to guide your choices without overspending. Factor in tools you might need to purchase.
This DIY approach saves you 50-70% compared to custom cabinetry, making it worthwhile.
How Long Does It Typically Take to Complete an Entire Kitchen Cabinet Project?
You’ll typically need 2-4 weeks to complete an entire kitchen cabinet project, depending on your chosen cabinet styles and storage solutions. If you’re building simple designs, you’re looking at the shorter timeframe. However, more complex storage solutions with custom features will extend your timeline.
You’ll spend time measuring, cutting, assembling, finishing, and installing. Don’t rush because you’ll want to make certain each step is done correctly for professional results and lasting durability.
Should I Build Cabinets Before or After Installing Countertops?
You should build and install your cabinets before installing countertops. This approach lets you measure your countertop dimensions accurately after your cabinets are in place.
You’ll also complete cabinet finishing and install cabinet hardware while you’ve got easier access to all surfaces. Once everything’s secured and polished, you can then order custom countertops that’ll fit perfectly on top.
This sequence saves you time and prevents costly measurement mistakes down the road.
How Do I Ensure My Cabinets Are Level and Properly Aligned?
You’ll want to channel your inner architect when leveling cabinets. Start by using a quality level tool on every unit, both horizontally and vertically. Shim underneath as needed until you’ve got perfect alignment.
Install cabinet hardware only after you’re confident everything’s plumb and square. Don’t skip finishing techniques like caulking gaps; they’ll hide minor imperfections and give your cabinets that polished, professional appearance you’re after.
Conclusion
You’ve just transformed raw materials into magnificent kitchen masterpieces! Your cabinets don’t just hold dishes; they’re architectural wonders that’ll make your kitchen the envy of the entire neighborhood.
You’ve conquered cuts, frames, and hardware with the precision of a master craftsman. Those gleaming doors? They’re practically singing. Your newly hung cabinets aren’t merely storage; they’re proof of your unstoppable DIY prowess.
Get ready for guests to gasp in awe because your kitchen cabinets are the highlight of your home. Making kitchen cabinets in 5 easy steps has never looked this impressive!