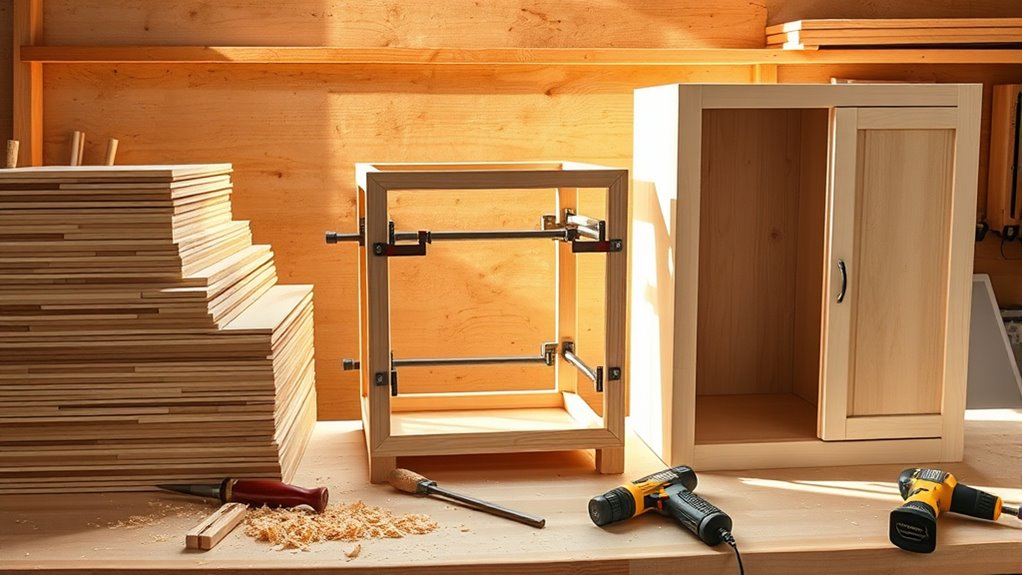
How to Build Cabinets in 3 Simple Steps
If you’ve ever dreamed of upgrading your kitchen but felt overwhelmed by the thought of custom cabinetry, you’re not alone. Many people struggle with where to start when it comes to building cabinets that fit perfectly and look professional.
To build cabinets in three simple steps, you’ll first measure your kitchen space and create a detailed layout, noting obstacles and appliance placement.
Next, you’ll select durable materials like plywood and gather essential tools such as a miter saw and drill.
Finally, you’ll assemble your cabinet box with square joints, attach hardware, and install it securely to wall studs using a level.
Learn the specifics behind each step for professional results.
Key Takeaways
- Measure your kitchen space, note obstacles, and create a detailed scale drawing before starting construction.
- Select quality materials like plywood or solid wood, gather essential tools, and prioritize safety gear.
- Build the cabinet box with square joints, attach hardware, sand surfaces, and apply protective finishes.
- Position the cabinet level, secure it to wall studs, and install shelving, doors, and drawers.
- Verify all measurements, test hardware function, and confirm the cabinet is securely fastened before completion.
Step 1: Measure Your Kitchen Space and Plan the Layout
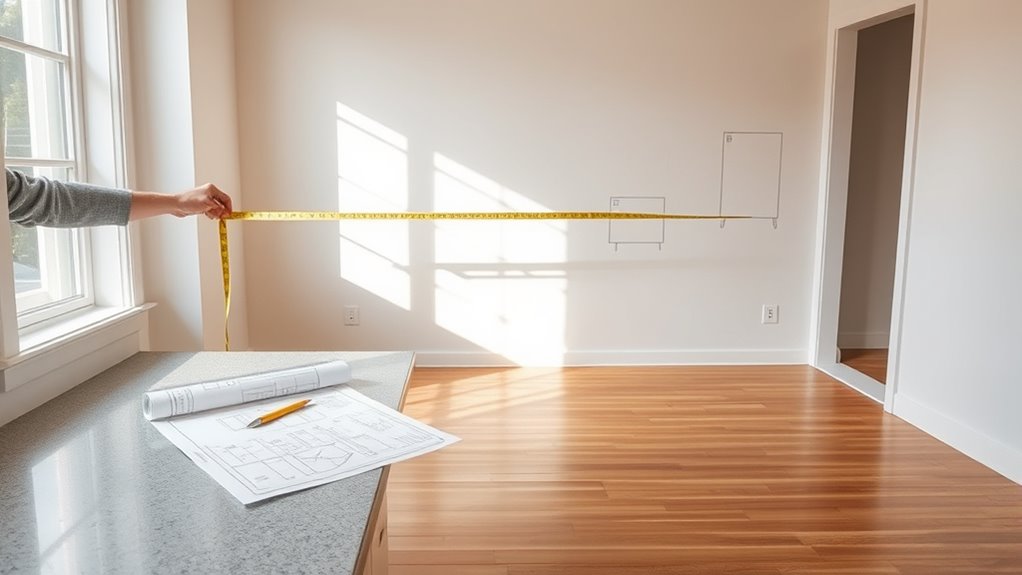
Before you purchase materials or build a single cabinet, you’ll need to measure your kitchen space accurately and sketch out a detailed layout. Start by recording the length, width, and height of your kitchen walls. Note any obstacles like windows, doors, or appliances that will affect your cabinet placement.
Measure your kitchen space accurately and sketch a detailed layout, noting obstacles like windows, doors, and appliances that affect cabinet placement.
Next, create a scale drawing on graph paper or use design software to visualize your cabinet configuration. This blueprint helps you determine cabinet sizes, quantities, and positioning before you invest in materials.
Consider how you’ll access storage and workflow patterns. Think about where you’ll install decorative hardware and plan finishing techniques that will complement your kitchen’s aesthetic.
Double-check all measurements twice to avoid costly mistakes. Mark electrical outlets, plumbing lines, and ventilation requirements on your layout. A well-planned design ensures your cabinets fit perfectly and function efficiently once you begin construction.
Step 2: Pick Quality Materials and Essential Tools
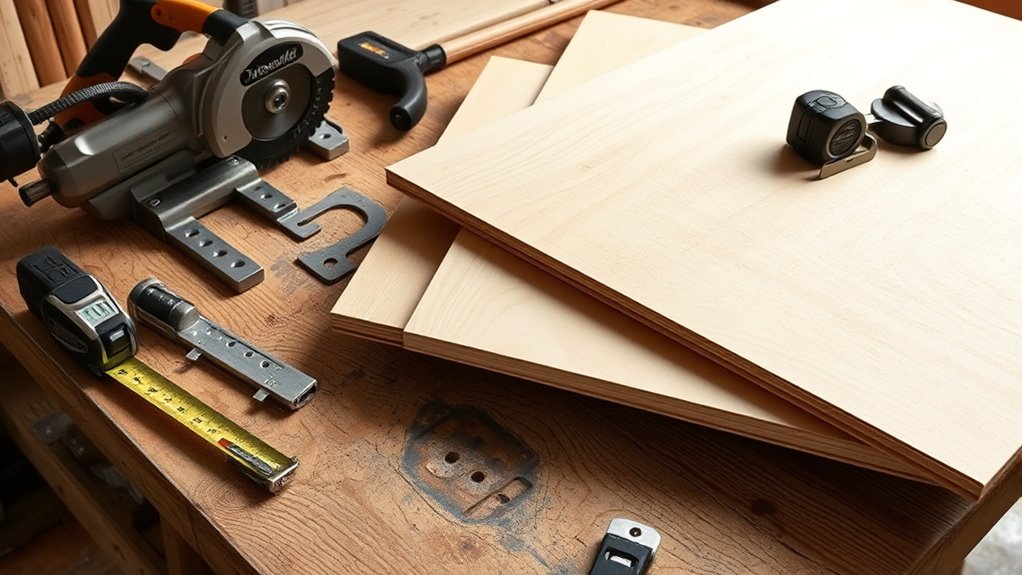
Once you’ll finalized your layout, you’ll need to select materials and gather tools that match your project’s scope and your skill level.
Start by choosing quality plywood or solid wood for your cabinet boxes. These materials provide durability and longevity. Next, decide on your hardware options. Hinges, handles, and drawer slides considerably impact functionality and aesthetics.
Essential tools you’ll need include a miter saw, table saw, drill, and measuring tape. A square and level ensure precision alignment. Don’t forget sandpaper, clamps, and a screwdriver set.
Before beginning, establish safety precautions. Wear eye protection and hearing protection when operating power tools. Keep your work area organized and well-lit. Guarantee proper ventilation if using adhesives or finishes.
Quality materials and appropriate tools directly influence your cabinet’s finished appearance and structural integrity. Investing in reliable equipment upfront prevents costly mistakes and frustration during construction. You’re now ready to move forward confidently.
Step 3: Build and Install Your Cabinet
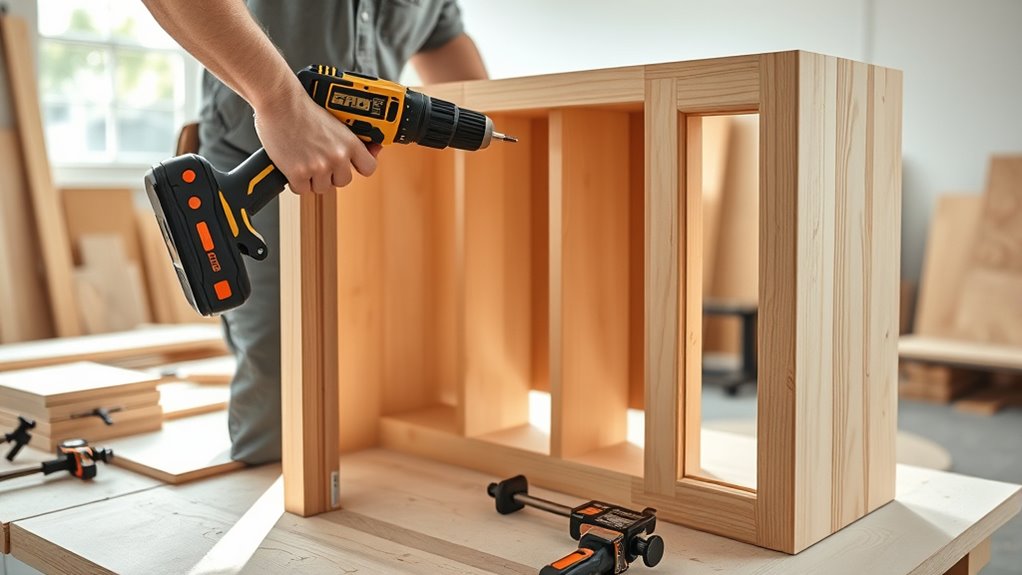
With your materials gathered and tools ready, you’re prepared to begin construction. Start by assembling your cabinet box, verifying all joints are square and secure. You’ll want to double-check measurements before fastening anything permanently.
Next, focus on these essential steps:
- Attach the cabinet hardware. Install hinges, handles, and drawer slides according to your design specifications.
- Sand and prepare surfaces. Smooth all edges and faces to create a professional appearance.
- Apply finishing techniques. Stain, paint, or seal your cabinet to protect the wood and improve aesthetics.
Once your cabinet’s construction is complete, carefully position it in its final location. Use a level to ensure it’s perfectly straight, then secure it to wall studs or the floor as appropriate.
Install any shelving, doors, and drawers last. Take your time during this phase—proper installation ensures your cabinet will function smoothly and last for years.
Frequently Asked Questions
How Long Does It Typically Take to Build and Install Kitchen Cabinets?
You’ll typically need 2-4 weeks to build and install kitchen cabinets, depending on complexity and your experience level. Your material selection considerably impacts this timeline. Solid wood takes longer than plywood or MDF.
You’ll spend time on cutting, assembly, finishing, and installation. For custom designs, you’re looking at the longer end. Once installed, quality cabinets with proper material selection offer excellent durability, lasting 15-20 years with minimal maintenance.
What Is the Average Cost of Building Custom Cabinets Versus Buying Pre-Made?
You’ll spend a million times more on custom cabinets, but it’s worth considering your budget carefully. Custom cabinets typically cost $500 to $1,200 per linear foot, while pre-made options run $100 to $300.
Your cost comparison depends heavily on material options available. Custom work offers premium woods and finishes, whereas pre-made cabinets provide budget-friendly alternatives.
You’re fundamentally choosing between personalized quality and affordable convenience when deciding what works best for your kitchen renovation.
Do I Need Special Permits or Inspections for Cabinet Installation?
You’ll typically need permits if you’re installing cabinets in kitchens or bathrooms, especially when plumbing or electrical work’s involved. Your local building department determines specific permit requirements based on your project scope.
You’ll likely undergo an inspection process to guarantee your installation meets building codes and safety standards. Contact your municipal office before starting; you don’t want to risk fines or complications.
Most residential cabinet installations require minimal permits, but it’s always better to check first.
How Do I Maintain and Care for My New Kitchen Cabinets?
You’ll keep your cabinets looking great through regular cabinet cleaning with mild soap and soft cloths. Avoid harsh chemicals that damage finishes. You should wipe spills immediately to prevent staining and warping.
Don’t forget hardware maintenance. Tighten loose hinges and handles monthly using appropriate tools. You can polish metal hardware occasionally to maintain its shine.
Finally, you’ll want to guarantee proper ventilation near cabinets to reduce moisture damage and extend their lifespan considerably.
Can I Modify Cabinet Designs After Installation if Needed?
You can absolutely reshape your kitchen like clay in a sculptor’s hands. Yes, you’ve got design flexibility even after installation. Cabinet modifications are entirely possible.
You can add shelving, adjust door styles, or reconfigure layouts without starting over. Professional installers can handle most alterations smoothly. However, structural changes cost more than planning ahead.
You’re not locked into your original design, but planning modifications during installation saves you time and money. Think of it as room to grow.
Conclusion
You’ve now planted the seeds of your kitchen’s transformation. Like a master architect building a foundation, you’ve measured, selected, and constructed.
Your cabinets aren’t just storage; they’re the backbone holding your culinary dreams together. As you step back and admire your handiwork, remember you’ve created more than furniture.
You’ve built a sanctuary where memories will flourish. Your kitchen cabinets are now ready to tell your story.