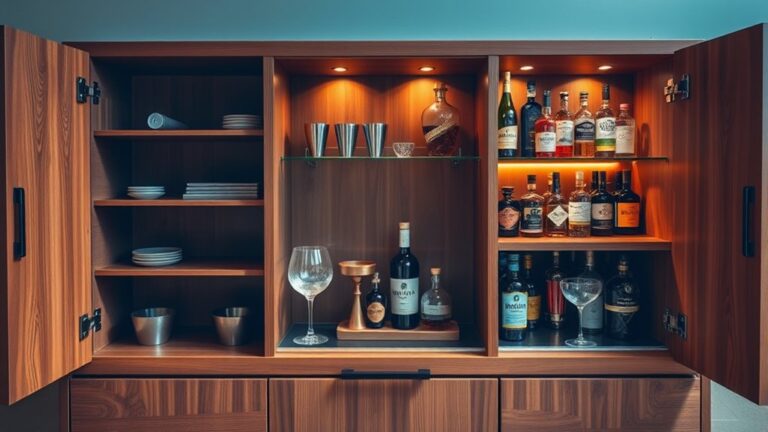
How to Build a Cabinet in 10 Easy Steps
If you’ve ever wanted to build a cabinet but felt overwhelmed by all the steps involved, you’re not alone. Many people struggle with where to start or worry they don’t have the right skills or tools. The good news is that building a beautiful, functional cabinet is easier than you might think with the right guidance.
You’ll start by gathering essential tools and selecting quality wood suited to your project’s location. Next, carefully measure, mark, and cut all pieces to precise dimensions, then sand edges smooth.
Build your cabinet box frame using wood glue and pocket holes, add shelves with proper bracing, and secure the back panel.
Sand progressively through grits, apply your chosen finish, hang doors with hinges, and install hardware. Each step builds toward a professional-looking cabinet you can complete in a weekend.
Discover the detailed techniques that’ll transform your project.
Key Takeaways
- Gather essential tools like a circular saw, drill, measuring tape, level, and clamps. Don’t forget your safety gear before starting your project.
- Measure twice and mark carefully with a pencil. Always verify all dimensions against your plans before cutting any wood.
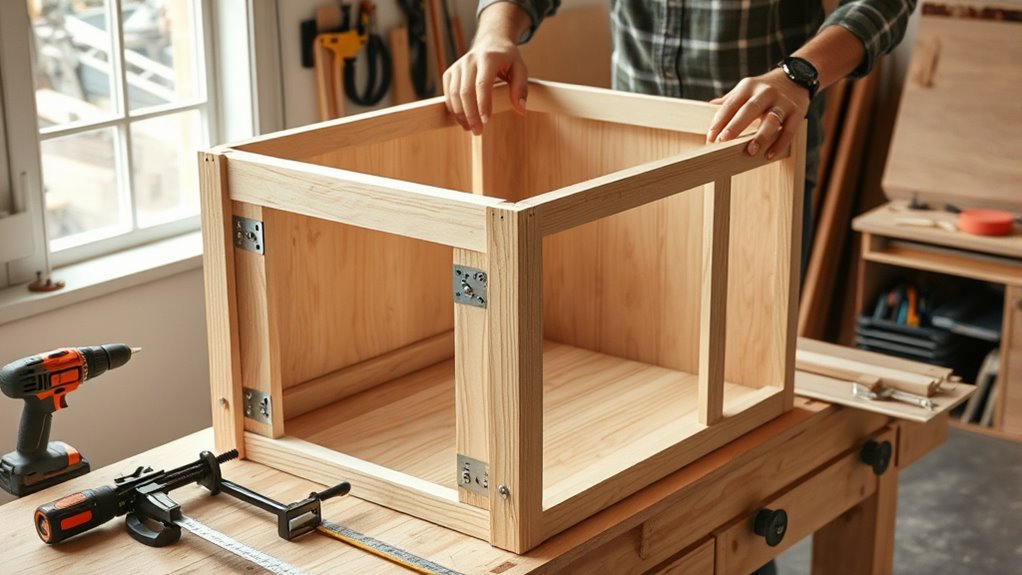
- Build the frame by cutting lumber to size. Dry-fit the pieces first, then apply wood glue and clamp everything until fully cured.
- Add shelves using adjustable pins or brackets. Include interior bracing and attach a back panel with nails or screws.
- Sand progressively with 120-, 180-, and 220-grit paper. After that, apply primer and finish coats. Finally, install doors and hardware.
Gather Your Tools and Materials
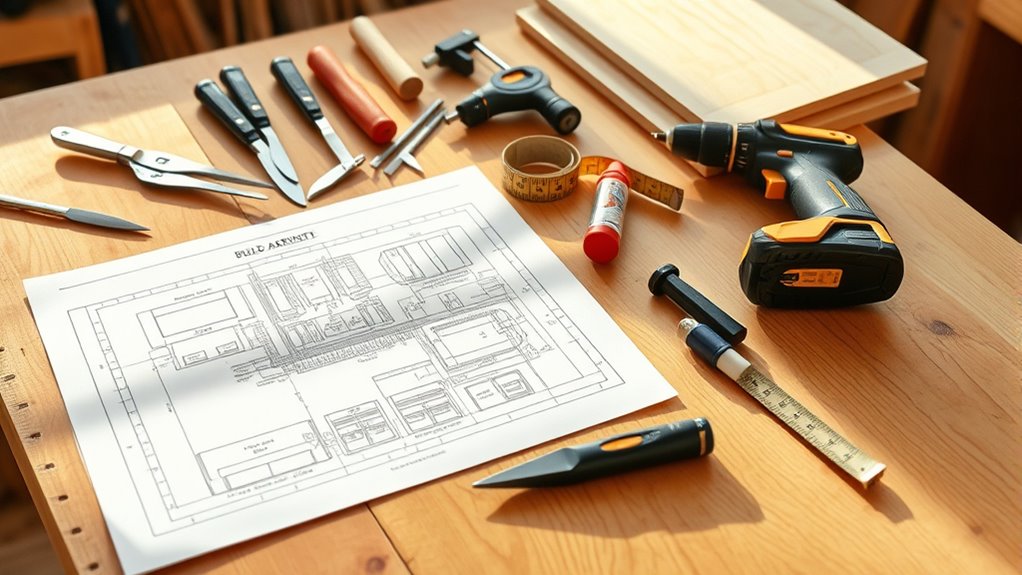
Before you pick up a single piece of wood, have you considered what you’ll actually need? Gathering the right tools and materials prevents frustrating delays during your build.
Gathering the right tools and materials before starting prevents frustrating delays and sets your project up for success.
Essential tools include a circular saw, drill, measuring tape, level, clamps, and a square. You’ll also want sandpaper, a hammer, and safety gear like goggles and gloves. Invest in quality tools; they’ll last longer and perform better.
For materials, you’ll need plywood or solid wood boards, wood screws, wood glue, and finishing supplies. Purchase slightly more than your calculations suggest because mistakes happen.
Organize your material storage strategically. Keep lumber flat and protected from moisture in a dry location. Store screws and hardware in labeled containers for easy access.
Tool maintenance guarantees longevity. Clean your equipment after each use and oil moving parts regularly. Dull blades waste time and create safety hazards, so sharpen them frequently.
Proper preparation sets you up for success.
Choose the Right Wood for Your Cabinet
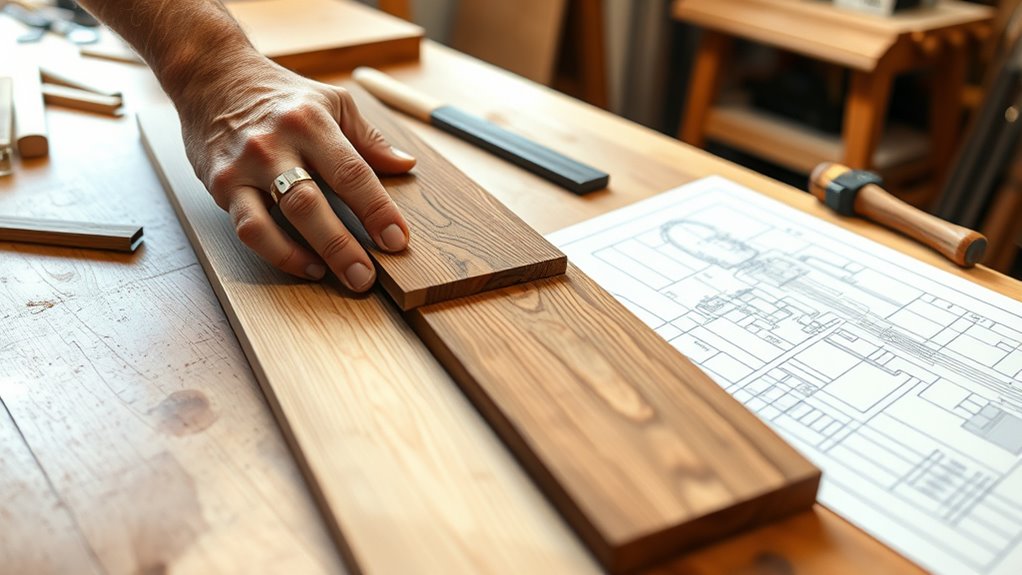
When choosing wood for your cabinet, you’ll want to think about durability and how well it’ll hold up with daily use in the spot you’re planning to put it. Budget plays a big role here too—are you leaning toward premium hardwoods, or would more affordable options that still look great work better for you? And don’t forget about style! Different woods have unique grain patterns and finishes that can either blend in nicely or really change the vibe of your space.
Wood Types and Durability
Since the wood you select directly impacts your cabinet’s longevity and appearance, it’s crucial to understand your options. Different wood characteristics determine how well your cabinet withstands daily use and environmental changes.
Hardwoods like oak, maple, and cherry offer superior durability factors and resist warping better than softwoods. They’re ideal for high-traffic cabinets but cost more. Softwoods like pine are budget-friendly yet prone to dents and moisture damage.
Consider moisture resistance carefully. Woods like teak naturally repel water, making them suitable for kitchens and bathrooms. Plywood provides stability and consistency, resisting splitting and shrinking better than solid wood.
Evaluate your cabinet’s location and usage. High-moisture areas demand rot-resistant woods, while display cabinets tolerate softer options. Understanding these durability factors ensures you’ll build a cabinet that lasts for years.
Cost and Budget Considerations
Selecting wood for your cabinet involves balancing quality with your budget. You’ll find that price varies dramatically across wood types. Your budget planning should account for material costs upfront to avoid overspending later.
| Wood Type | Cost Level | Durability | Best For |
|---|---|---|---|
| Pine | Low | Moderate | Budget projects |
| Oak | Medium | High | Everyday cabinets |
| Maple | High | Very High | Premium finishes |
| Birch | Medium | High | Versatile builds |
| Walnut | Very High | Excellent | Investment pieces |
You’ll save money by purchasing wood in bulk or selecting locally sourced options. Calculate your total material costs before starting construction. Consider veneer alternatives for visible surfaces while using budget-friendly woods internally. This strategic approach lets you achieve quality results without financial strain.
Aesthetic Appeal and Finish Options
Why does wood choice matter beyond durability and cost? Your cabinet’s appearance defines your space’s character. The wood species you select dramatically influences aesthetic appeal and complements your interior design.
Consider these finish options: Natural stain *amplifies* wood grain while preserving authentic color variations. Paint provides bold customization and conceals wood imperfections. Matte or glossy finishes alter light reflection and perceived depth.
Decorative accents further *boost* your cabinet’s visual impact. Brass hardware, carved details, or inlaid patterns transform functional pieces into statement furniture. Your wood selection works alongside these elements to create cohesive design.
Match your wood’s warmth or coolness to existing décor. Light woods brighten spaces, while darker tones add sophistication. Quality finish application *guarantees* longevity and maintains aesthetic appeal for years.
Cut and Prepare Your Cabinet Pieces
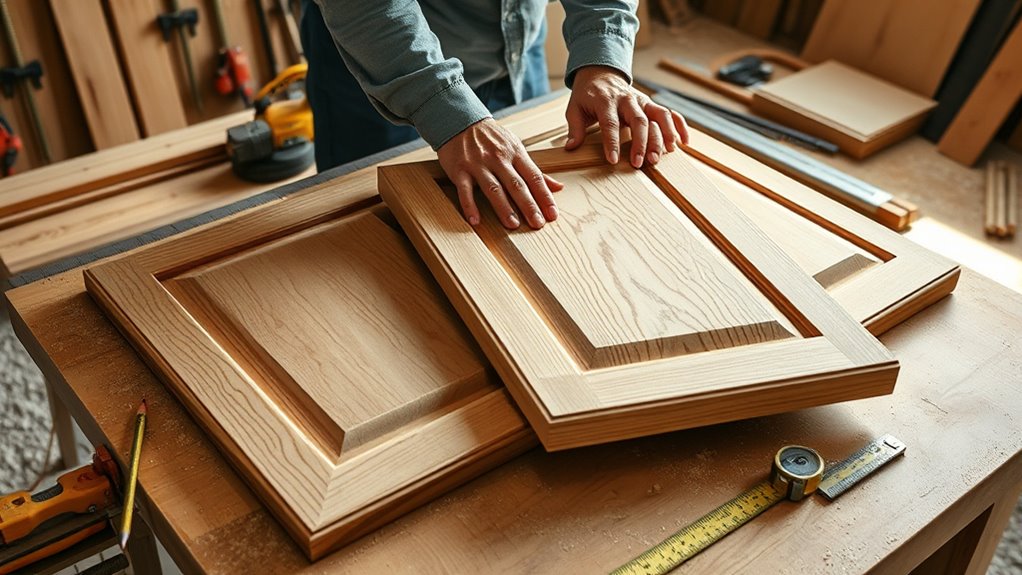
You’ll want to start by measuring and marking your wood pieces carefully. Even small mistakes can add up as you go along, so taking your time here really pays off. Next, grab the right tools for the job—a table saw works great for straight cuts, while a miter saw is perfect for those angled pieces. Using the proper tools helps make sure your cuts come out clean and precise.
After you’ve made all your cuts, the next step is sanding. Smooth out the edges and surfaces to get rid of any splinters. This will give you a nice, smooth base to work with when you start putting everything together.
Measuring and Marking Accurately
How can a single measurement error derail your entire project? One miscalculation cascades through every component, leaving you with pieces that won’t fit together. That’s why measurement accuracy is non-negotiable.
You’ll need proper marking techniques to guarantee success:
- Use a quality tape measure and always measure twice before cutting
- Mark your measurements with a sharp pencil, creating visible, precise lines
- Double-check dimensions against your cabinet plans before proceeding
Record all measurements on your plans immediately. Don’t rely on memory. When marking wood, position your pencil perpendicular to the edge for clarity. Use a carpenter’s square to verify right angles and straight edges.
Taking time now prevents costly mistakes later. Precision in this phase sets the foundation for a properly constructed cabinet that will last for years.
Selecting the Right Tools
Now that you’ve marked your pieces with precision, it’s time to gather the tools that’ll bring those measurements to life. You’ll need quality equipment to cut and shape your cabinet components accurately.
| Tool | Purpose | Priority |
|---|---|---|
| Circular Saw | Straight cuts | Essential |
| Drill/Driver | Holes and fastening | Essential |
| Clamps | Hold pieces steady | Essential |
| Miter Saw | Angled cuts | Important |
| Sander | Smooth surfaces | Important |
Prioritize tool safety by wearing protective gear and reading manufacturer instructions. Keep your material storage organized and dry to prevent damage. Dull blades compromise accuracy, so maintain sharp equipment. Store power tools securely away from moisture.
Having the right tools eliminates frustration and ensures professional results.
Sanding and Finishing Edges
After cutting your pieces to size, sanding transforms rough edges into smooth, professional surfaces that’re ready for finishing. You’ll want to invest time in this critical step to guarantee your cabinet looks polished and refined.
Begin your edge sanding process by following these steps:
- Start with 80-grit sandpaper to remove saw marks and imperfections from your cuts
- Progress to 120-grit, then 150-grit sandpaper for increasingly smoother surfaces
- Apply finish sealing products once you’ve achieved your desired smoothness
Sand in the direction of the wood grain to prevent scratches and splintering. Pay special attention to corners and joints where rough spots tend to hide. Work methodically across all exposed edges, maintaining consistent pressure. This preparation assures your stain or paint adheres evenly and your cabinet maintains a professional appearance throughout its lifespan.
Build Your Cabinet Box Frame
Before, you’ll need to cut your lumber to the correct dimensions based on your cabinet’s desired height, width, and depth. Accurate measurements guarantee proper storage optimization and a professional finish.
| Component | Length | Quantity |
|---|---|---|
| Vertical Stiles | 36″ | 4 |
| Horizontal Rails | 24″ | 4 |
| Top/Bottom | 24″ | 2 |
| Side Panels | 36″ | 2 |
| Back Support | 24″ | 1 |
Once your pieces are cut, you’ll dry-fit everything without glue. This reveals misalignments before permanent assembly. Your cabinet design benefits from this verification step, preventing costly mistakes.
Next, apply wood glue to joints and secure them with pocket holes or dowels for maximum strength. Clamp everything firmly and check for square using a carpenter’s square. This foundational frame supports your cabinet’s entire structure and determines its longevity. Let the glue cure completely, typically 24 hours, before proceeding to the next phase.
Add Shelves and Interior Bracing
Once your frame’s glue has fully cured, you’re ready to install shelves and bracing that will transform your box into a functional storage unit. Strategic shelf placement determines your cabinet’s overall utility and appearance.
Begin by measuring and marking shelf locations inside your cabinet. Think about the items you’ll store to find the best spacing. Next, install shelf supports, whether adjustable pins, brackets, or fixed cleats, depending on your design preference.
For a professional-quality cabinet, include these essential elements:
- Interior lighting fixtures that enhance visibility and showcase displayed items
- Cross-bracing between shelves to prevent sagging and ensure stability
- Support rails along the cabinet back for added structural reinforcement
Make sure all shelves sit level using a spirit level before securing them permanently. Proper bracing prevents warping and extends your cabinet’s lifespan significantly. Take your time during this phase to ensure everything is square and secure because fixing mistakes later becomes much harder.
Secure the Back Panel
You’ll want to measure your back panel carefully and make sure it lines up perfectly with your cabinet frame before you start fastening it down. It’s important to choose the right fasteners—usually nails or screws work best. Then, space them evenly around the edges to keep the panel from warping.
To make your work even stronger, try applying some construction adhesive behind the panel before you drive in the fasteners. This will give you maximum stability and help everything hold together nicely.
Measuring and Alignment
With the cabinet frame assembled, it’s time to secure the back panel. This is a critical step that guarantees your cabinet stays square and stable. A properly aligned back panel prevents racking and ensures your doors hang correctly.
Follow these steps for precise alignment:
- Position the back panel against the frame, checking that all corners form perfect 90-degree angles.
- Use a level to verify the panel sits completely flat and true.
- Secure with finishing nails or screws, spacing fasteners every 6 inches around the perimeter.
Before fastening, measure diagonals from corner to corner. They should match exactly. This verification confirms squareness. Proper alignment maximizes space optimization and provides an ideal foundation for decorative accents and hardware installation.
Fastener Selection and Placement
Choosing the right fasteners makes all the difference in securing a durable back panel. You’ll want to select fastener types based on your cabinet’s material. Use nails for softwood, screws for hardwood, or brad nails for plywood edges.
For fastener placement, space your fasteners every 6-8 inches along the back panel’s perimeter. Start at the top corners, then work downward, ensuring even distribution. Use at least two fasteners per side to prevent warping.
Pre-drill holes to avoid splitting wood, especially near edges. Position fasteners slightly inset from the panel’s edge to hide them effectively. Check that your back panel remains perfectly square before fully tightening all fasteners. This prevents racking and maintains your cabinet’s structural integrity.
Securing With Adhesive Reinforcement
While fasteners alone provide structural support, adding adhesive reinforcement creates an even more robust connection between the back panel and cabinet frame. You’ll want to select the right adhesive types for your project’s specific materials and conditions.
Apply your chosen adhesive using these reinforcement techniques:
- Apply a continuous bead of wood glue along the frame edges where the back panel meets the cabinet.
- Use clamps to maintain even pressure while the adhesive cures, typically 24 hours.
- Consider adding corner braces with adhesive for maximum durability and load-bearing capacity.
This combination of fasteners and adhesive creates a superior joint that resists warping and stress. You’ll achieve a cabinet that withstands daily use and maintains its structural integrity for years to come.
Sand Your Cabinet and Prep for Finishing
Before you apply any stain or finish, you’ll need to sand your cabinet to create a smooth surface and remove any dust or debris. Start with 120-grit sandpaper, working with the grain to avoid scratches. Then move on to 180-grit for a finer finish, followed by 220-grit for the final pass.
Pay special attention to edges, corners, and areas where hardware accessories will attach. Sand these sections thoroughly to guarantee proper installation and a professional appearance.
After sanding, vacuum thoroughly and wipe down all surfaces with a tack cloth to eliminate fine dust particles. Don’t overlook the interior organization compartments. Sand shelves and dividers completely so they’re smooth and splinter-free.
Let the cabinet sit for several hours before proceeding with staining or finishing. This allows any remaining dust to settle. Inspect your work carefully because any missed spots will become visible once you apply the finish. Take time to make certain every surface is properly prepared.
Stain or Paint Your Cabinet
Now that you’ve prepared a smooth, dust-free surface, you’re ready to apply your chosen finish. Before you begin, gather your materials and set up a well-ventilated workspace to ensure ideal drying conditions.
Consider these essential steps for your finishing process:
- Primer application creates a base layer that improves adhesion and coverage. It also blocks stains and wood tannins from bleeding through your topcoat.
- Color matching your cabinet to your décor means testing samples on scrap wood or hidden areas. This lets you see how light changes the final look.
- Apply your stain or paint with smooth, even strokes using quality brushes or foam rollers. Keep a wet edge to avoid lap marks and ensure consistent coverage.
Follow manufacturer instructions for drying times between coats. Multiple thin applications work better than one thick coat, which can drip or pool. Sand lightly between coats for better adhesion and a professional finish.
Hang Doors and Mount Hinges
Once your cabinet’s finish has dried completely, you’re ready to install the doors and hinges that will bring your project to life. Start by selecting the right hinge types for your cabinet style. Butt hinges work well for traditional designs, while European hinges offer modern aesthetics and easier adjustment.
Mark hinge positions on both the door and cabinet frame using a template to ensure consistency. Install hinges on the door first, then carefully position the door against the cabinet opening. Use shims to maintain proper spacing and door alignment before securing hinges to the frame.
Check that doors swing smoothly without binding or gaps. Make fine adjustments using the hinge screws to correct door alignment if needed. Ensure doors close evenly and sit flush with the cabinet body. Test the operation several times before finalizing all connections.
Install Knobs, Pulls, and Finishing Hardware
With your doors hanging smoothly, you’re ready to add the hardware that will complete your cabinet’s appearance and functionality. Hardware installation transforms your cabinet from functional to finished, so take time to get it right.
Start by selecting knob styles that match your cabinet’s design aesthetic. Consider these key aspects:
- Measure twice. Mark hardware locations precisely using a template or measuring tape to ensure symmetry across all doors.
- Pre-drill holes. Create pilot holes before installing knobs to prevent wood splitting and ensure clean, professional results.
- Tighten securely. Use appropriate screws and washers, checking that all hardware sits flush against the door surface.
Install pulls and knobs consistently across matching doors. Check alignment by opening and closing each door to confirm nothing catches or interferes.
Finally, add any additional finishing hardware like edge trim or corner brackets. Your cabinet’s polished appearance depends on meticulous hardware installation.
Frequently Asked Questions
How Do I Repair Mistakes or Wood Damage After Cutting My Cabinet Pieces?
You’ll want to use wood filler to repair cuts, dents, or gouges in your cabinet pieces. Apply the filler generously into damaged areas and let it dry completely according to the package directions.
Once hardened, you’re ready to sand. Start with coarse-grit sandpaper to level the filler flush with your wood surface, then move to fine-grit paper for a smooth finish. This approach guarantees your cabinet pieces look professionally finished.
What’s the Best Way to Fill Gaps Between Cabinet Sections for a Seamless Appearance?
You’ll achieve seamless results by using the right filler options and caulking techniques. Start by selecting paintable caulk or wood filler that matches your cabinet’s finish. You’ll apply caulk with a caulking gun, smoothing it with a wet finger for clean lines.
For wood filler, you’ll press it into gaps, then sand it smooth once dry. You can also use shims or wood strips to minimize gaps before finishing.
How Long Should I Wait Between Staining and Painting Before Applying Additional Coats?
You’ll want to wait 24-48 hours between staining and your first paint coat. This drying period guarantees proper color matching and maximum finish durability.
However, you shouldn’t rush subsequent paint coats either. Allow 4-6 hours between layers for water-based paints and 24 hours for oil-based options. You’re building a protective finish, so patience matters.
Always check your specific product’s instructions, as drying times vary. Rushing this process compromises your cabinet’s final appearance and longevity.
What Techniques Prevent Cabinet Doors From Warping Over Time in Humid Environments?
You’ll prevent cabinet door warping by applying proper wood treatment with sealers and finishes that create a moisture barrier. You should maintain humidity control in your space, ideally between 30-50%, using dehumidifiers or air conditioning.
You’ll also want to guarantee doors hang straight with quality hinges and allow adequate wood acclimation before assembly. You can reinforce frames with cross-bracing and avoid direct water exposure near cabinets.
These preventative measures work together to protect your doors from warping damage.
How Do I Ensure My Cabinet Is Level and Plumb When Mounting to Walls?
You’re about to mount your cabinet, but here’s the essential part: one mistake now ruins everything. Start by using a quality level to check both vertical and horizontal planes before securing cabinet hardware.
You’ll need proper safety precautions, like wearing safety glasses and using wall studs. Shim underneath corners carefully, adjusting until your level reads perfectly.
Tighten all hardware gradually in a cross pattern, making sure your cabinet stays perfectly aligned throughout the entire installation process.
Conclusion
You’ve just built something that’ll last decades. Like a master chef who knows that mise en place, having everything prepared before cooking, determines success, you’ve learned that cabinet building’s real magic isn’t in fancy techniques.
It’s in your foundation. You’ve got the skills now to create furniture that doesn’t just fill space; it becomes part of your home’s backbone. This is the true reward of cabinet building.