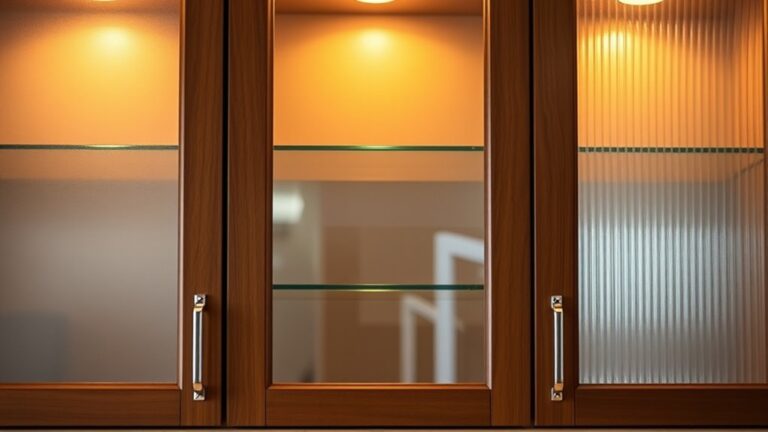
How to Make Cabinets in 10 Simple Steps
If you’ve ever dreamed of upgrading your home with custom storage but felt overwhelmed by the process, you’re not alone. Many people struggle with figuring out where to start when making cabinets that fit perfectly and look professional.
Thankfully, breaking it down into simple steps can make the project manageable and even enjoyable.
You’ll start by gathering your tools, materials, and taking precise measurements of your space. Next, cut your wood pieces carefully and assemble the box frame with proper joinery.
Then you’ll reinforce corners, install adjustable shelves, and prepare surfaces by sanding thoroughly.
Apply your chosen finish or paint in thin coats, mount all hardware securely, and hang your cabinet with proper wall alignment.
Each step builds toward a professional-quality result that’ll serve you well for years to come.
Key Takeaways
- Measure your space precisely multiple times and sketch detailed design options before cutting any wood.
- Cut wood pieces accurately using appropriate saws, then assemble the box frame with glue and joinery.
- Reinforce the frame with diagonal braces and verify squareness before installing shelves and doors.
- Sand surfaces sequentially with progressively finer grits. Prepare wood for finishing with filler and tack cloth.
- Apply finish in thin coats. Install hardware with precise marking, and secure cabinet to wall with level alignment.
Gather Tools and Materials
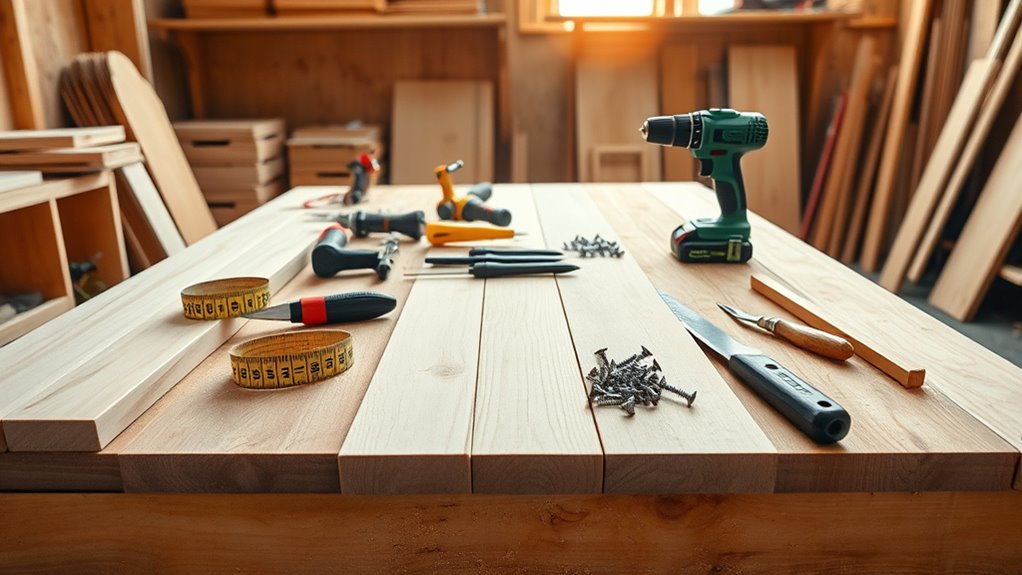
Before you can build cabinets, you’ll need to assemble the right tools and materials. Start by gathering essential power tools like a table saw, miter saw, and drill-driver. You’ll also need hand tools such as chisels, clamps, a hammer, and a tape measure. Don’t forget safety equipment. Wear eye protection, hearing protection, and work gloves. Tool safety is paramount, so inspect all equipment before use and follow manufacturer guidelines.
For material selection, choose quality plywood or solid wood based on your cabinet style and budget. You’ll need wood screws, wood glue, sandpaper, and finishing supplies like stain or paint. Select hardware including hinges, handles, and drawer slides that match your design.
Organize your workspace before starting. Guarantee proper ventilation and adequate lighting. Having everything prepared prevents delays and keeps your project running smoothly. Quality materials and proper tools make the difference between amateur and professional-looking results.
Measure and Design Your Cabinet Layout
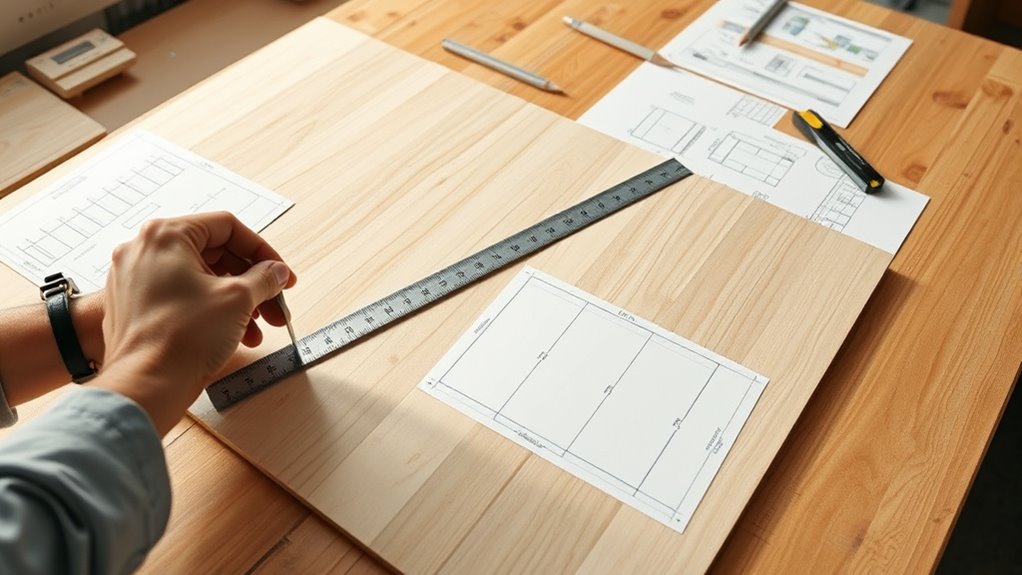
Before you start sketching your cabinet design, it’s important to take precise measurements of your space. Getting these measurements right is key because even small errors can mess up your whole project and lead to wasted materials.
Once you’ve got all your dimensions noted down, you can move on to designing your cabinet layout with confidence, knowing everything will fit just right.
Accurate Measurements Matter Most
When you’re building cabinets, precision in your initial measurements determines whether doors’ll align properly and shelves’ll sit level. You’ll need precision planning and measurement accuracy to avoid costly mistakes during construction.
Start by measuring your space multiple times using different tools. Record dimensions at multiple points along walls, as they’re rarely perfectly straight. Convert all measurements to the same unit to prevent errors.
| Measurement Type | Tool | Critical Areas |
|---|---|---|
| Length | Steel tape measure | Wall width, cabinet depth |
| Height | Level + tape | Floor to ceiling, shelf spacing |
| Depth | Calipers | Interior shelving, door clearance |
| Width | Digital measure | Opening sizes, panel cuts |
| Angles | Angle finder | Corner alignment, door swing |
You’ll transfer these measurements to detailed drawings before cutting any materials. This foundation prevents complications later.
Designing Your Cabinet Space
With your measurements documented and verified, it’s time to transform that data into a functional layout. You’ll start by sketching your cabinet design, considering how doors, shelves, and drawers work together within your space.
Think about cabinet aesthetics and how the finished piece complements your room’s style. Do you prefer modern, rustic, or traditional designs? This choice influences your material selection a lot. You might choose solid wood for durability and warmth, plywood for cost-effectiveness, or MDF for smooth finishing.
Next, determine shelf placement based on what you’re storing. Heavy items need sturdy support lower down, while lighter objects work fine higher up. Plan your drawer depths strategically. Deeper drawers suit larger items, while shallow ones organize smaller pieces efficiently.
Sketch multiple layout options before committing to one.
Cut and Prepare Cabinet Wood
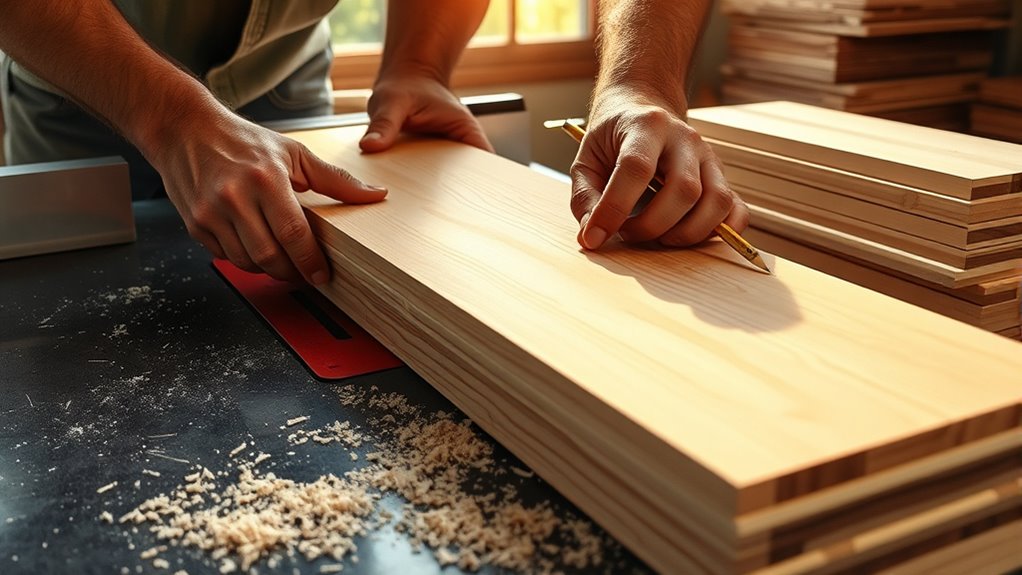
How do you transform raw lumber into cabinet components? You’ll start with proper wood selection, choosing materials that match your cabinet’s style and durability needs. Hardwoods like oak and maple offer longevity, while softwoods provide budget-friendly options.
Next, you’ll employ precise cutting techniques to shape your pieces. Measure twice, cut once. This principle prevents costly mistakes. Use a table saw for straight cuts on larger boards and a miter saw for angled cuts. A circular saw works well for breaking down sheet materials like plywood.
After cutting, you’ll prepare surfaces by sanding. Start with coarser grits (80-120) to remove rough spots, then progress to finer grits (150-220) for smooth finishes. Sand with the grain to avoid scratches.
Finally, inspect all edges and surfaces for splinters or imperfections. This preparation stage directly impacts your cabinet’s final appearance and functionality, so invest time here.
Assemble the Box Frame
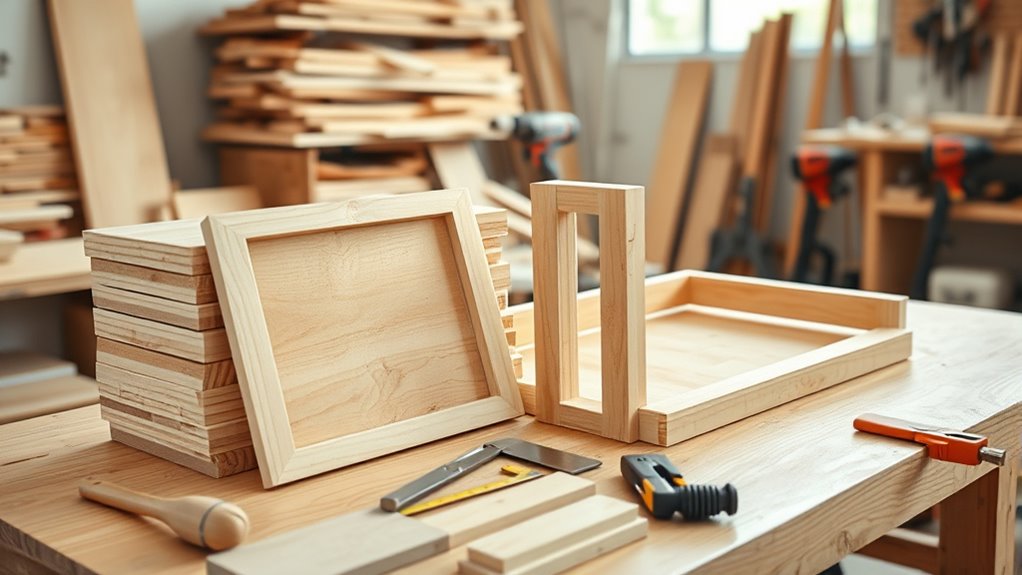
You’ll start by cutting your wood pieces to the exact dimensions. Then, you’ll join the corners securely together using your preferred joinery method.
Once the corners are firmly connected, go ahead and reinforce the frame with support braces. This will guarantee stability and help prevent racking.
These three steps are the foundation of a sturdy cabinet box that’ll support shelves and doors perfectly.
Cut Your Wood Pieces
Once you’ve determined your cabinet dimensions, it’s time to cut the wood pieces that’ll form the basic box structure. Start with proper wood selection. Choose materials like plywood or solid wood based on your cabinet’s purpose and desired durability.
Employ accurate cutting techniques to guarantee precise measurements. Use a table saw for straight cuts on larger pieces and a miter saw for angled cuts if needed. Always measure twice before cutting once to prevent costly mistakes.
Cut your vertical sides, horizontal shelves, and top and bottom panels according to your design specifications. Sand all edges smooth to prevent splinters and prepare surfaces for assembly. Organize cut pieces by labeling them clearly. This makes assembly considerably easier when you’re ready for the next step.
Join Corners Securely Together
With your wood pieces cut and sanded, it’s time to assemble the cabinet’s box frame by joining the corners securely. Strong corner joints are essential for a sturdy, long-lasting cabinet.
- Apply wood glue to the edges you’ll join, ensuring even coverage without excessive amounts that’ll squeeze out.
- Use woodworking techniques like pocket hole joinery or mortise-and-tenon joints for maximum strength and durability.
- Clamp the corners at perfect 90-degree angles while the glue dries, checking with a speed square for accuracy.
Let the adhesive cure fully according to the manufacturer’s instructions before removing clamps. Reinforce corner joints with screws or dowels for added stability. Proper assembly now prevents warping and wobbling later, creating a solid foundation for your cabinet doors and shelves.
Reinforce With Support Braces
After your corner joints have cured completely, it’s time to reinforce the box frame with support braces that will prevent racking and keep everything square. Install diagonal braces across the back of your cabinet using 1×2 lumber or plywood strips.
These support braces counteract the tendency for frames to shift under stress. Position them from corner to corner, securing them with screws or dowels. For reinforcement techniques, consider adding horizontal cross-braces inside the cabinet every 12 inches for larger units.
This distributes weight evenly and prevents sagging shelves. Check your frame’s squareness before fully securing braces by measuring diagonals; they should be equal. Tighten all fasteners securely.
Proper bracing ensures your cabinet maintains structural integrity throughout its lifespan, preventing costly repairs later.
Check Square and Reinforce Corners
Before you proceed with assembly, you’ll want to verify that your cabinet frame is perfectly square. Even slight angles will cause doors to misalign and drawers to bind.
Start by measuring diagonals from corner to corner. If measurements match, your frame is square. If they don’t, adjust the frame until they’re equal.
Now focus on corner stability through proven reinforcement techniques:
- Install corner blocks, L-shaped braces made from hardwood or plywood, inside each corner. Secure them with screws for maximum hold.
- Apply wood glue along all joints before fastening. This creates a stronger bond that resists stress and movement over time.
- Use pocket hole joinery on hidden interior corners. It provides excellent structural integrity without visible fasteners.
After reinforcing all four corners, double-check your measurements again. Proper corner stability ensures your cabinet remains square throughout its lifetime, preventing future alignment issues and ensuring smooth operation of all components.
Build and Attach Cabinet Doors
Once your cabinet frame is square and reinforced, you’re ready to build and hang the doors. Start by constructing your door panels using quality wood or plywood, ensuring they’re cut to precise measurements. Sand all surfaces smooth for a professional finish.
Build door panels from quality wood or plywood with precise cuts and smooth sanding for a professional cabinet finish.
Next, focus on hinge installation. Position hinges carefully on both the door and frame, typically about two inches from the top and bottom. Use a drill to create pilot holes before screwing hinges in place to prevent splitting.
Attach the doors to your cabinet box, checking door alignment as you go. The gaps between doors and frame should be even on all sides, usually around 1/8 inch. Adjust hinges slightly if needed to achieve perfect alignment.
Test the swing and closing action multiple times. Make any fine adjustments before fully tightening all hardware. Properly aligned doors ensure your cabinet functions smoothly and looks polished.
Install Adjustable Shelves and Support Braces
With your cabinet doors hanging perfectly, you’re ready to maximize interior storage by installing adjustable shelves and support braces.
Start by measuring your cabinet’s interior width and depth to determine shelf dimensions. You’ll want shelves that fit snugly without binding.
Here’s how to proceed:
- Install shelf pins or brackets. Drill evenly spaced holes along the interior sides where you’ll rest your adjustable shelves. Use a pegboard template for consistency and accuracy.
- Add support braces. Mount vertical or diagonal braces to reinforce shelves, especially if you’re storing heavy items. Position them at intervals for maximum stability.
- Place and test your shelves. Insert adjustable shelves into their supports, ensuring they’re level. Check weight capacity and adjust as needed.
This setup lets you customize shelf height based on your storage needs, making your cabinets truly functional for years to come.
Get Your Surfaces Ready to Finish
You’ll want to sand all the surface areas to create a smooth foundation for your finish. Make sure to clean away the dust and debris thoroughly because any particles can interfere with your coating’s adhesion. Also, fill any gaps and holes with wood filler—this will help your cabinets look polished and professional.
Sand All Surface Areas
Why does sanding matter before finishing? Proper surface preparation guarantees your stain or paint adheres evenly and looks professional. You’ll want to use the right sanding techniques to eliminate imperfections that’ll otherwise show through your final coat.
Here’s what you need to do:
- Start with 120-grit sandpaper to remove any rough spots or mill marks from the wood
- Progress to 150-grit sandpaper for a smoother finish that helps stain penetration
- Finish with 220-grit sandpaper to create a silky surface ready for your topcoat
Sand with the grain, not against it, to avoid creating scratches. Work methodically across all surfaces: faces, edges, and interior corners. You’ll notice dust accumulating, so wipe everything down with a tack cloth before finishing.
This preparation step makes the difference between amateur and professional-looking cabinets.
Clean Away Dust Debris
After sanding creates that perfect surface, dust particles settle everywhere, on your wood, in crevices, and even in the air. You’ll need to remove dust before applying any finish because leftover particles will ruin your cabinet’s appearance.
Start with a vacuum equipped with a brush attachment to capture loose debris from all surfaces. Then, wipe down each piece with a tack cloth, a sticky, lint-free fabric designed for this purpose. Don’t skip corners or joints where dust tends to accumulate.
For detailed areas, use a soft-bristled brush to dislodge trapped particles. Follow up with a damp cloth to catch any remaining dust, then let everything dry completely. This thorough cleaning ensures your stain or paint adheres smoothly without imperfections.
Fill Gaps and Holes
With your surfaces clean and dust-free, it’s time to address imperfections that’ll become visible once you apply stain or paint. Proper gap filling and hole repair ensure a professional finish.
Start by examining your cabinet surfaces closely:
- Fill small holes and nail pops with wood filler, applying it slightly proud of the surface. Then sand flush once dry.
- Address gaps between boards using paintable caulk or gap filling compound. Smooth it with a wet finger for clean lines.
- Sand all filled areas with 120-150 grit sandpaper until level with surrounding wood, creating seamless transitions.
These preparatory steps eliminate visual defects that detract from your finished cabinets. Taking time now prevents disappointment later when your stain or paint reveals every imperfection you missed.
Apply Finish or Paint
How you’ll complete your cabinets depends on whether you’re staining or painting them. Your choice affects the overall aesthetic and durability of your project.
| Finish Type | Application Method | Drying Time | Coats Needed | Best For |
|---|---|---|---|---|
| Polyurethane | Brush or roller | 4-6 hours | 2-3 | High resilience |
| Stain | Cloth or brush | 8-12 hours | 1-2 | Natural wood grain |
| Paint | Spray or brush | 2-4 hours | 2-3 | Smooth surfaces |
| Lacquer | Spray only | 30 minutes | 3-4 | Professional finish |
| Varnish | Brush | 6-8 hours | 2-3 | Water resistance |
For painting techniques, apply thin, even coats using quality brushes or foam rollers. Sand between coats for smoothness. If spraying, keep a consistent distance and overlap your strokes.
When staining, apply evenly to prevent blotching. Work quickly along the wood grain. Always ensure proper ventilation and follow product instructions for the best results and professional-looking cabinets.
Mount Hardware and Hang Your Cabinet
Once your finish has fully cured, you’re ready to install the hardware and hang your cabinet.
Start with hardware selection, choosing handles and knobs that complement your design aesthetic and suit your daily use. Quality hardware ensures durability and smooth operation.
Quality hardware selection ensures both aesthetic appeal and reliable, smooth operation for years to come.
Follow these installation steps:
- Mark hardware locations precisely on your cabinet doors and frame. Measure twice to avoid mistakes that require drilling new holes.
- Install handles and knobs using the appropriate fasteners. Make sure they’re tight but not over-tightened, as that can crack wood or strip threads.
- Attach mounting brackets securely to your wall studs. Use heavy-duty anchors if studs aren’t available where you need them.
Finally, carefully lift your cabinet and align it with the mounted brackets. Fasten it firmly to the wall, checking that it’s level before tightening all bolts completely. Your cabinet is now ready for use.
Frequently Asked Questions
What Type of Wood Is Best for Building Cabinets, and Why Does It Matter?
You’ll want hardwoods like oak, maple, or cherry for your cabinets because they’re durable and attractive. The wood grain adds visual appeal and character to your finished project.
You ought to prioritize wood with low moisture content, ideally between 6-8%, since it won’t warp or shrink after you’ve built your cabinets. Properly dried wood ensures your doors hang straight and joints stay tight.
This attention to wood quality makes the difference between cabinets that last decades and ones that fail prematurely.
How Long Does Wood Stain or Paint Typically Take to Dry Between Coats?
You’ve got to be patient or you’ll ruin everything you’ve worked for. Typically, you’ll wait 4-8 hours between stain application coats. Oil-based products need 24 hours though.
Water-based paints dry faster, requiring just 1-3 hours between coats. Don’t rush this drying time. Applying another coat too soon creates uneven finishes and bubbling.
Always check your product’s label, as humidity and temperature affect drying speed considerably.
Can I Build Cabinets Without Professional Woodworking Experience or Special Skills?
Yes, you can absolutely build cabinets without professional woodworking skills. You’ll need basic tools like a saw, drill, and measuring tape. Start with simpler designs and quality cabinet hardware to hide imperfections.
Budget considerations matter, so purchase pre-cut materials to reduce complexity. Take your time, follow detailed plans carefully, and don’t rush assembly. You’ll likely succeed if you’re patient and willing to learn through the process.
What Safety Precautions Should I Take When Using Power Tools and Machinery?
You’ll want to prioritize personal protective equipment by wearing safety glasses, hearing protection, and work gloves whenever you’re operating machinery. You shouldn’t ignore machine safety features because they’re designed to protect you.
You must keep your hands away from rotating blades and moving parts. You’ve got to unplug tools before making adjustments, and you should never rush your work.
You’ll stay safer by reading instruction manuals carefully and maintaining proper focus while working.
How Do I Prevent Cabinet Doors From Warping or Sagging Over Time?
You’ll prevent warping and sagging by using quality hinges and adjusting them regularly. You should align your doors properly during installation, ensuring they’re level and plumb.
Regular cabinet hinge adjustment keeps everything square, so don’t skip this maintenance. You’ll want to avoid exposing cabinets to extreme moisture or temperature changes because wood expands and contracts accordingly.
Moreover, you should install doors with appropriate support brackets, especially on larger units, to maintain structural integrity throughout their lifespan.
Conclusion
You’ve just built your cabinet like a master carpenter sculpting marble, each step removing unnecessary material until something functional and beautiful remains. Studies show DIY cabinet builders report 40% higher satisfaction than store-bought alternatives.
You’re not just installing shelves; you’re crafting storage that’ll outlast trends. Your hands-on effort transforms raw wood into lasting value.
That cabinet you’ve hung isn’t merely furniture. It’s proof you can create something worthwhile from start to finish, making cabinets that truly stand the test of time.